Lab 4: Facebook Messenger Configuration
Table of Contents
- Table of Contents
- Introduction
- Lab Section
Introduction
Lab Objective
In this Lab, we will go through the tasks that are required to complete the basic Facebook Messenger (FBM) integration. You will be able to initiate a Facebook contact to the Contact Center from Facebook Messenger and be able to accept/respond to the contact by logging in as an agent.
In this lab you will be configuring Service, Chat Assets, Entry Point, Queue, Chat Template, Website Settings, and corresponding workflows.
Pre-requisite
- You received an admin credentials to configure in Management Portal and Webex Connect.
- You have successfully completed the previous Lab Preconfiguration
- You have a Facebook Account
Quick Links
Control Hub: https://admin.webex.com
Portal: https://portal.wxcc-us1.cisco.com/portal
Agent Desktop: https://desktop.wxcc-us1.cisco.com
Workflows: GitHub page
Connect: https://cl1pod<ID>.imiconnect.io/ (where <ID> is your POD number)
Lab Section
Step 1 Facebook Page configuration
-
Customer/Partner should have a Facebook account to create a Facebook Business page
-
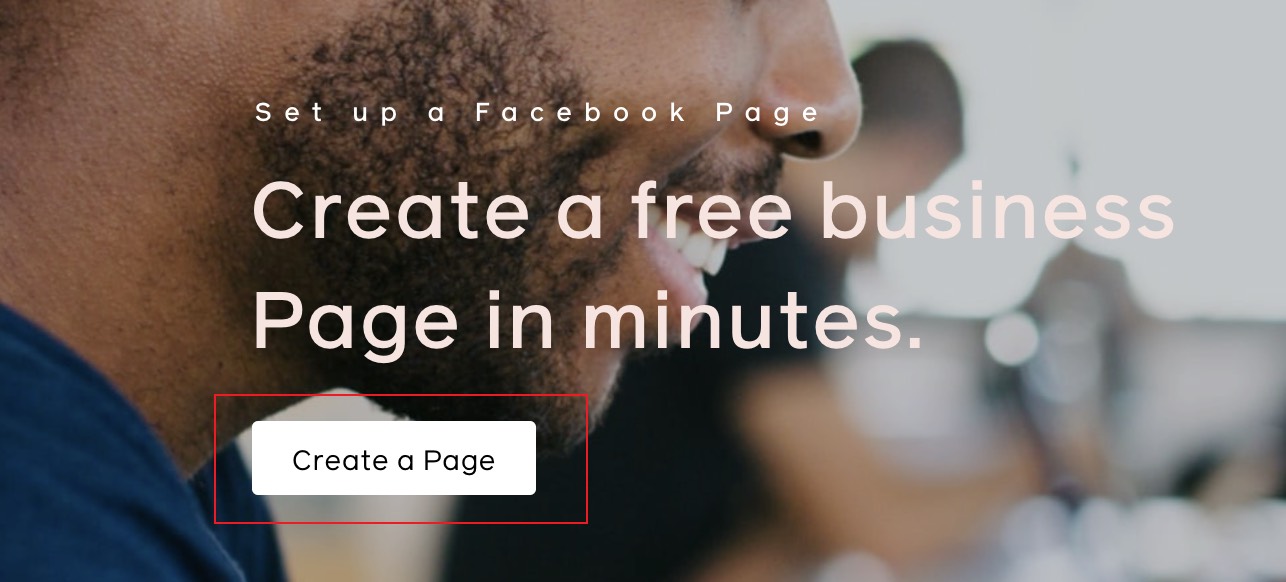
Login to Facebook and create a business page that can be used in WxCC for polling and handling the messenger chats Additional details of facebook page setup is available here: Facebook Business page setup
-
Click on
Create a Pagebutton
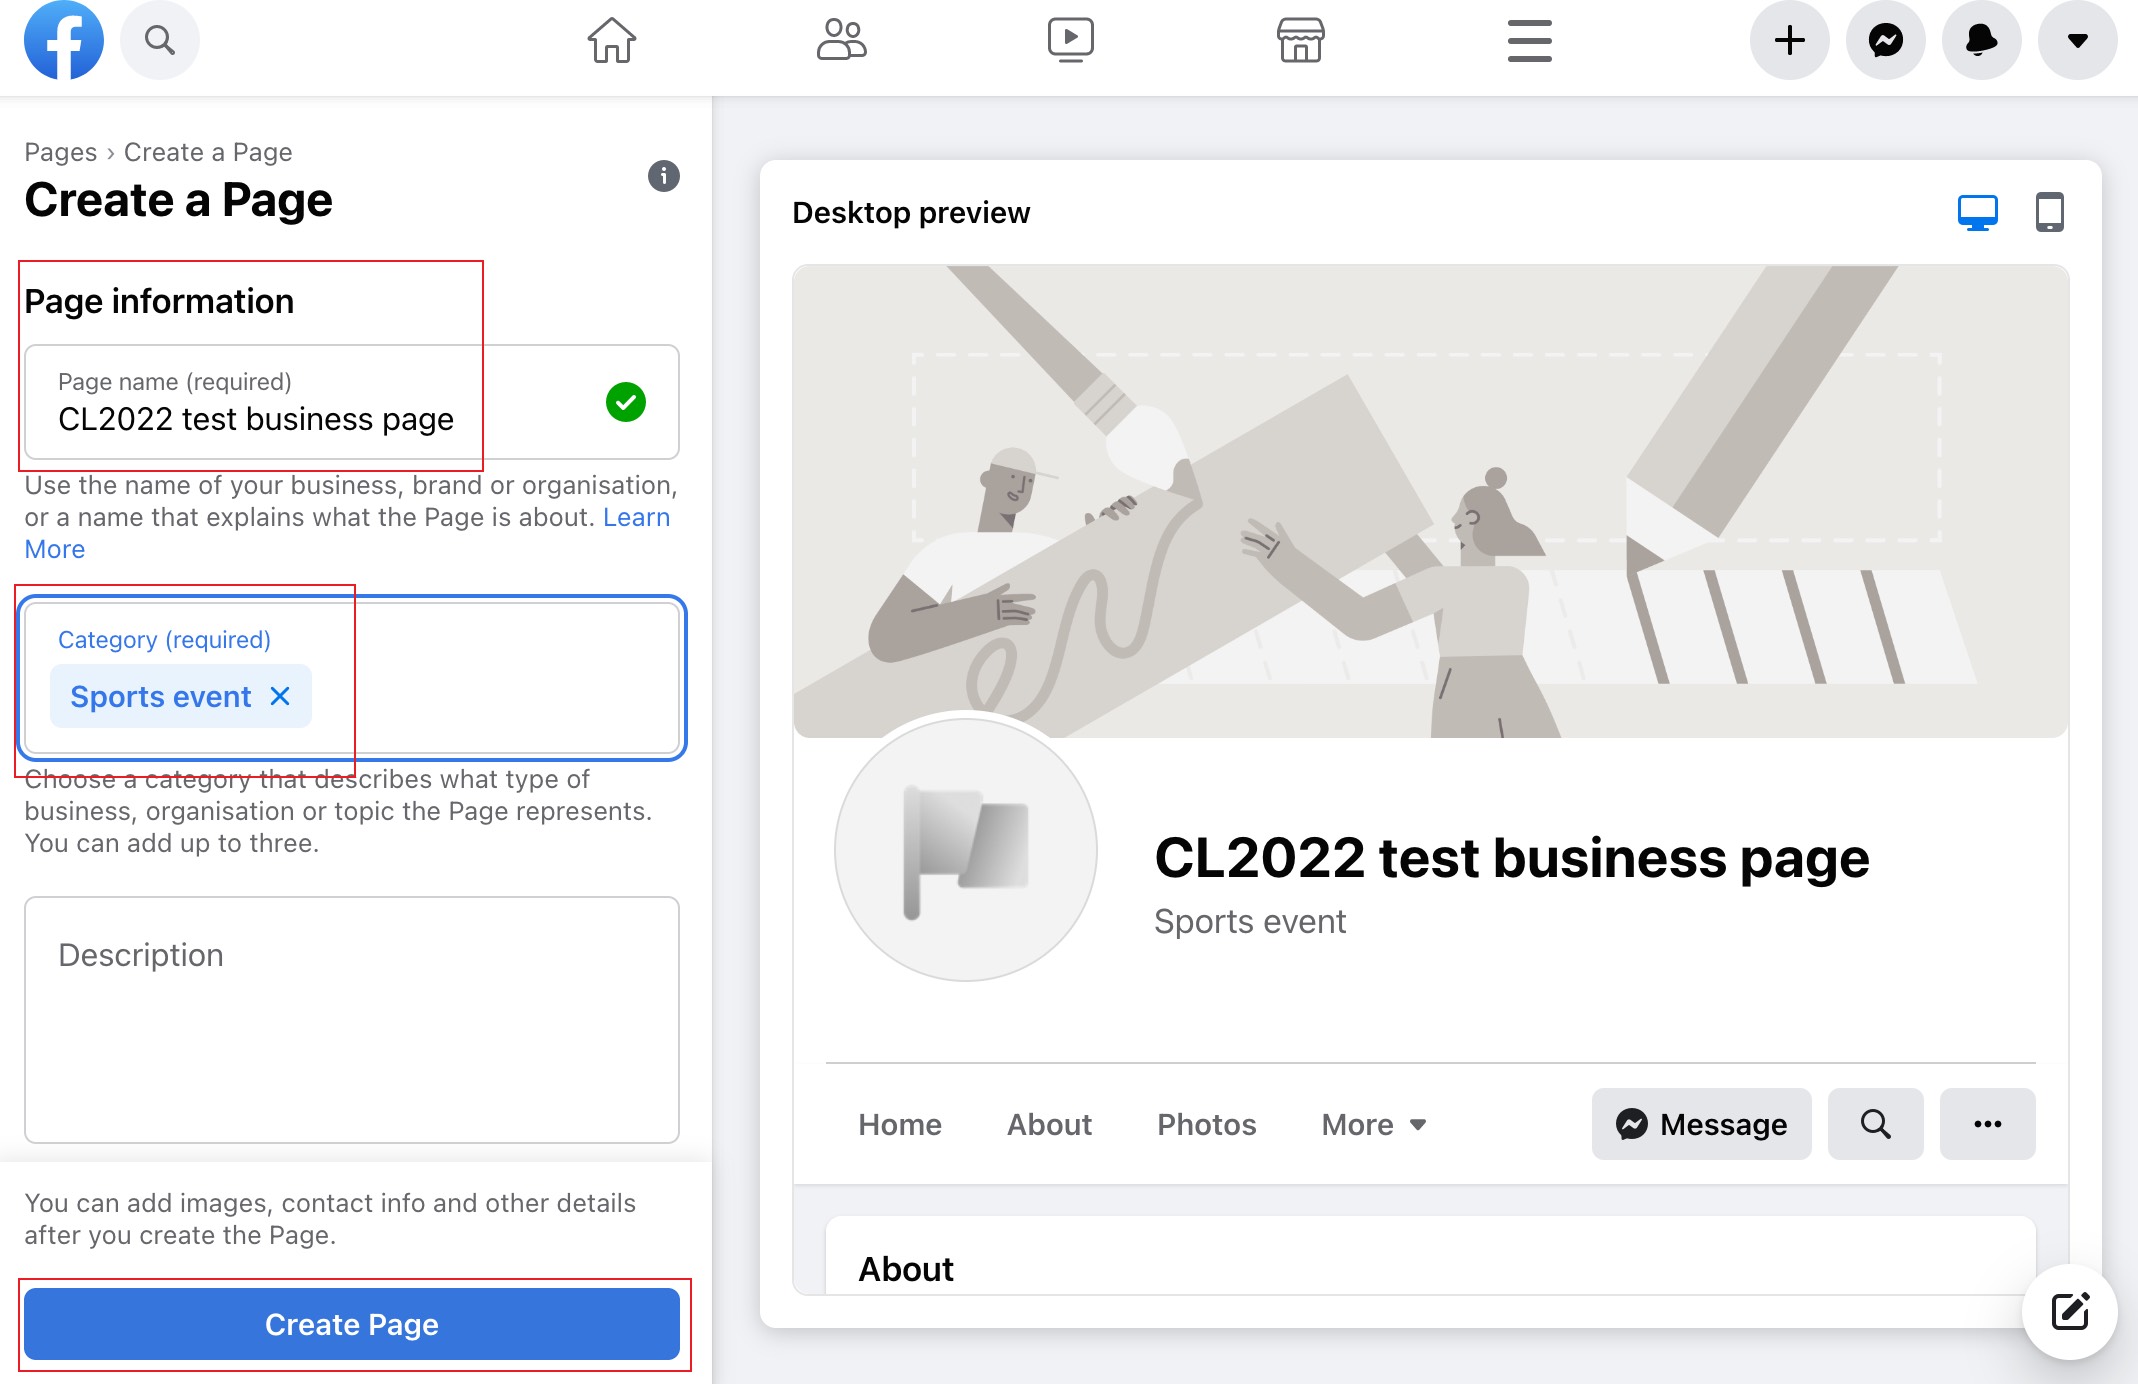
- If you are logged in already to Facebook, you will be presented with the Business Page creation tool. Simply give the page a Name and a Category then Click
Create Pagebutton
Step 2. Facebook Messenger Asset creation & register to Webex CC
-
Login to your respective Webex Connect UI using the provided URL https://cl1podX.imiconnect.io/ (where X is your POD number).
-
Navigate to
Assets>Apps>Configure New App>Messengerand Click onAdd Messenger Pagebutton
- If you haven’t done already, authenticate with your FB account where you have a page already created. Then select the respective page that you want to integrate
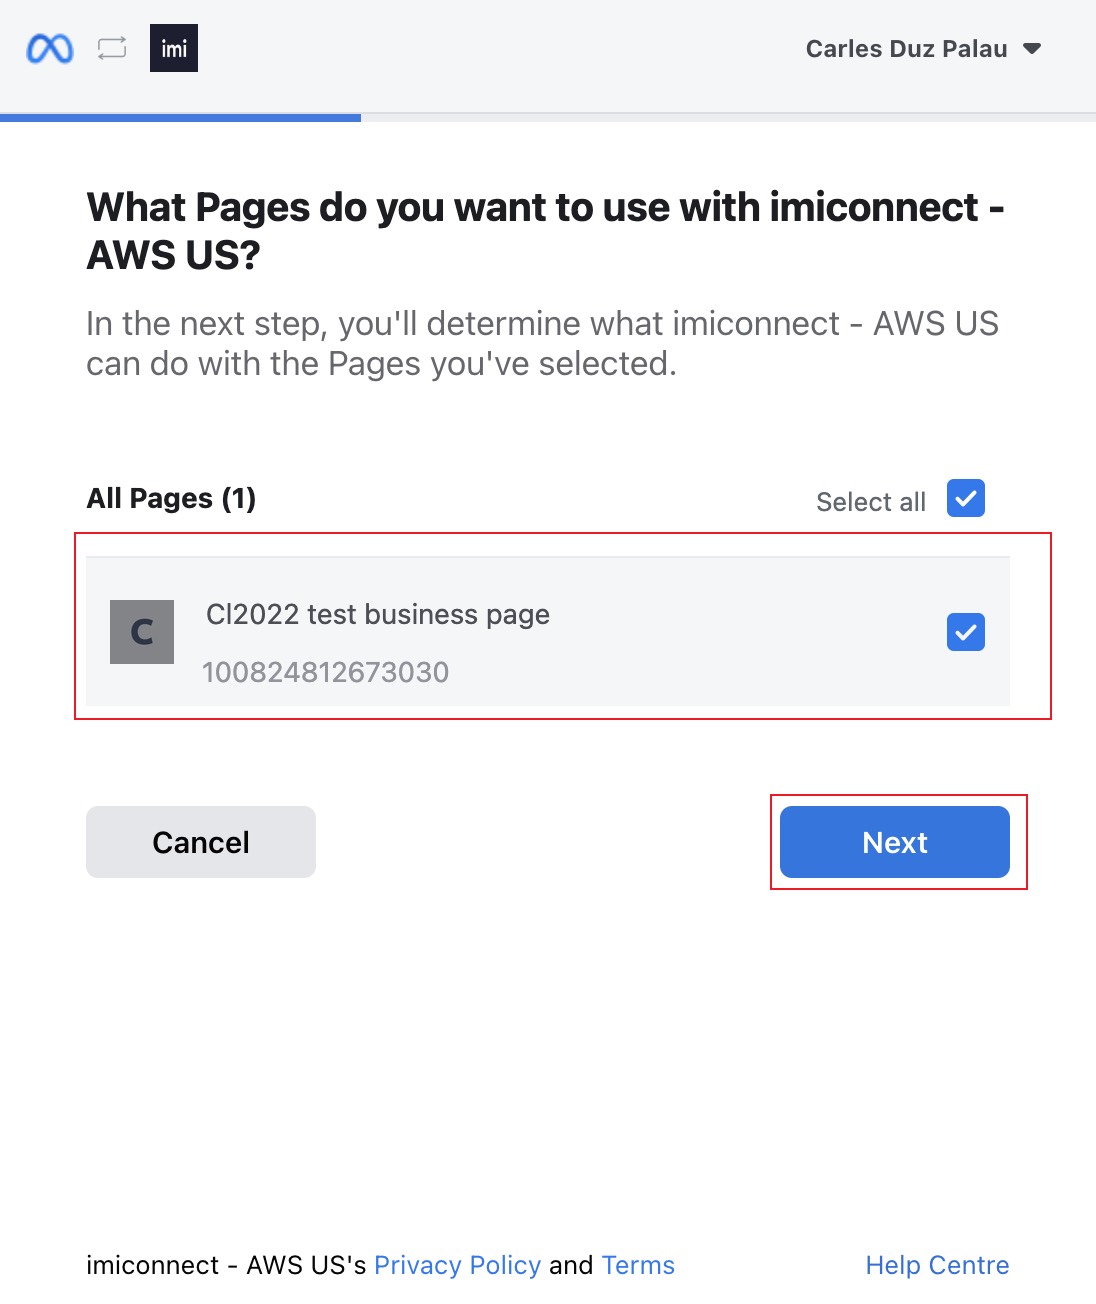
- Accept all default permissions
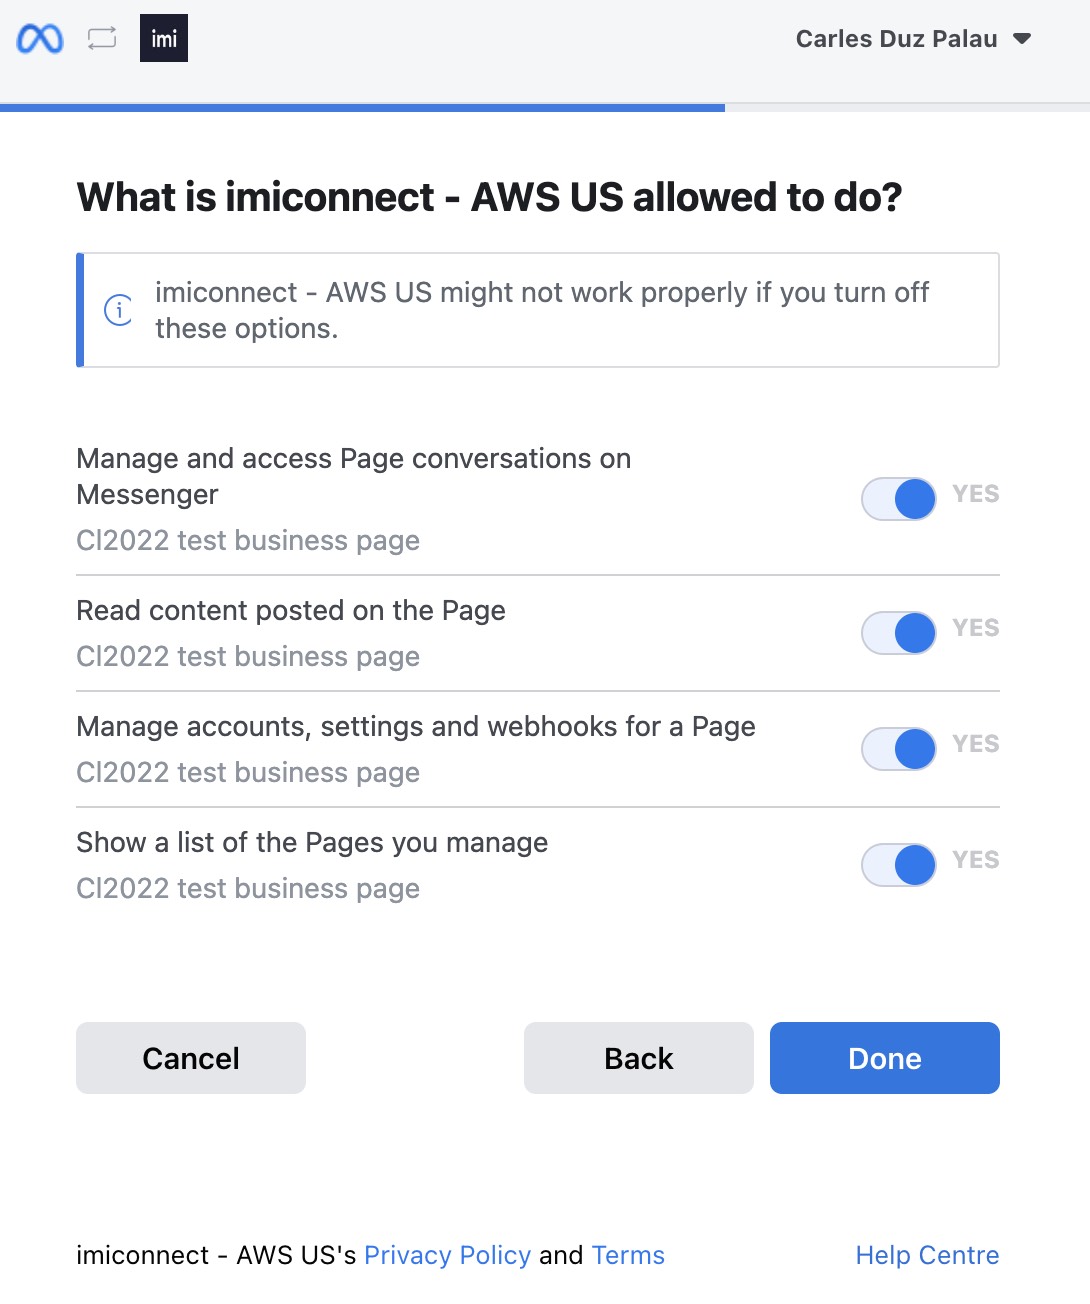
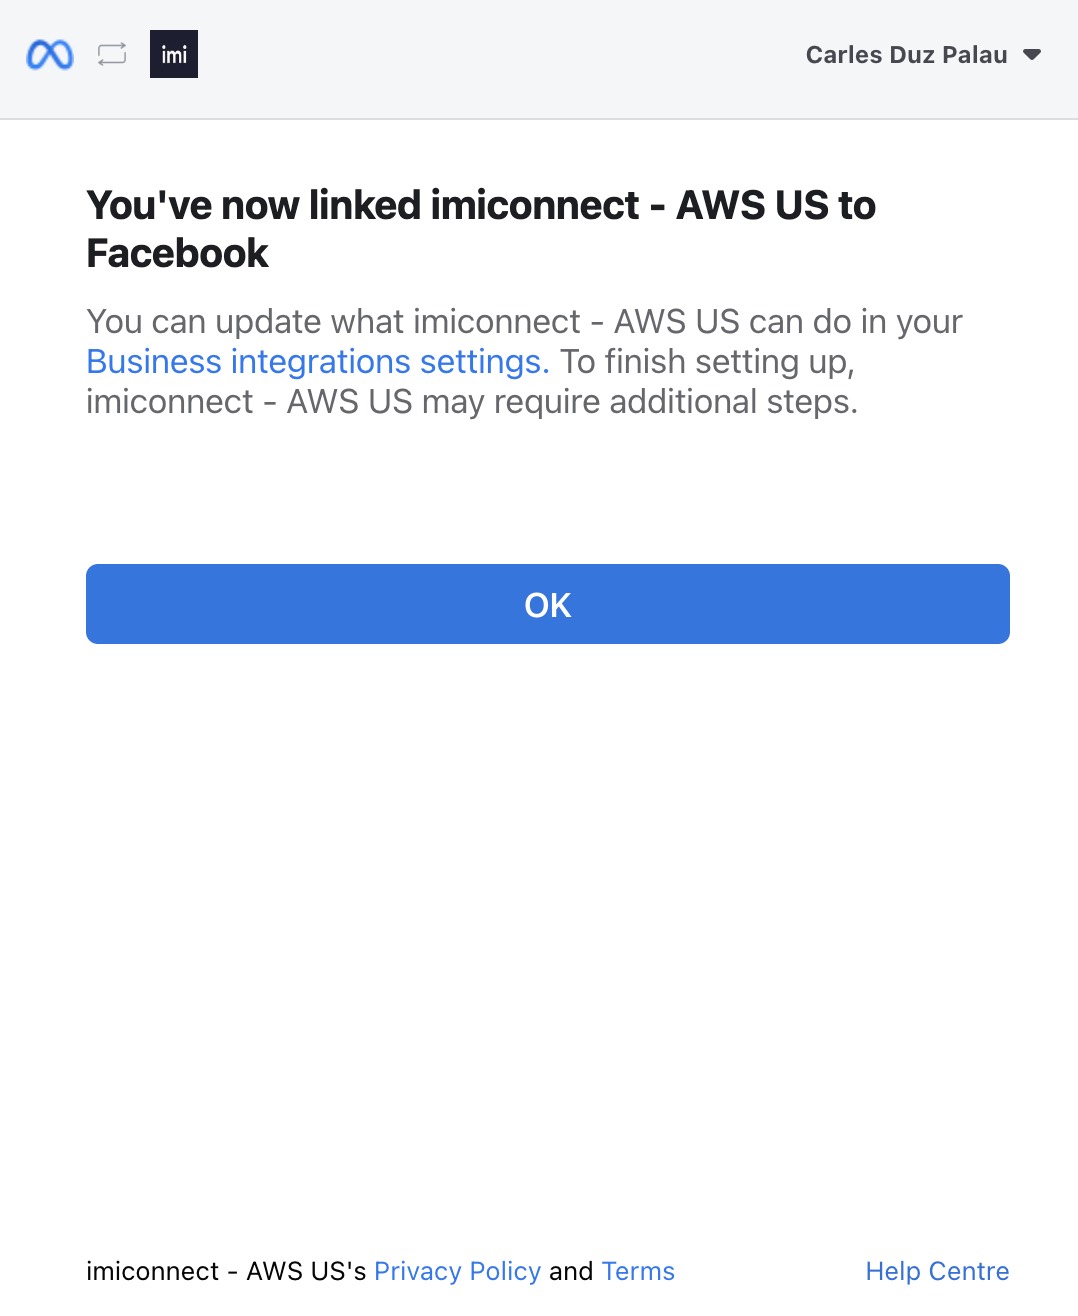
- That completes the linking of the Facebook connect with Webex Connect
- Finally select the Business Page you want to link to the Asset
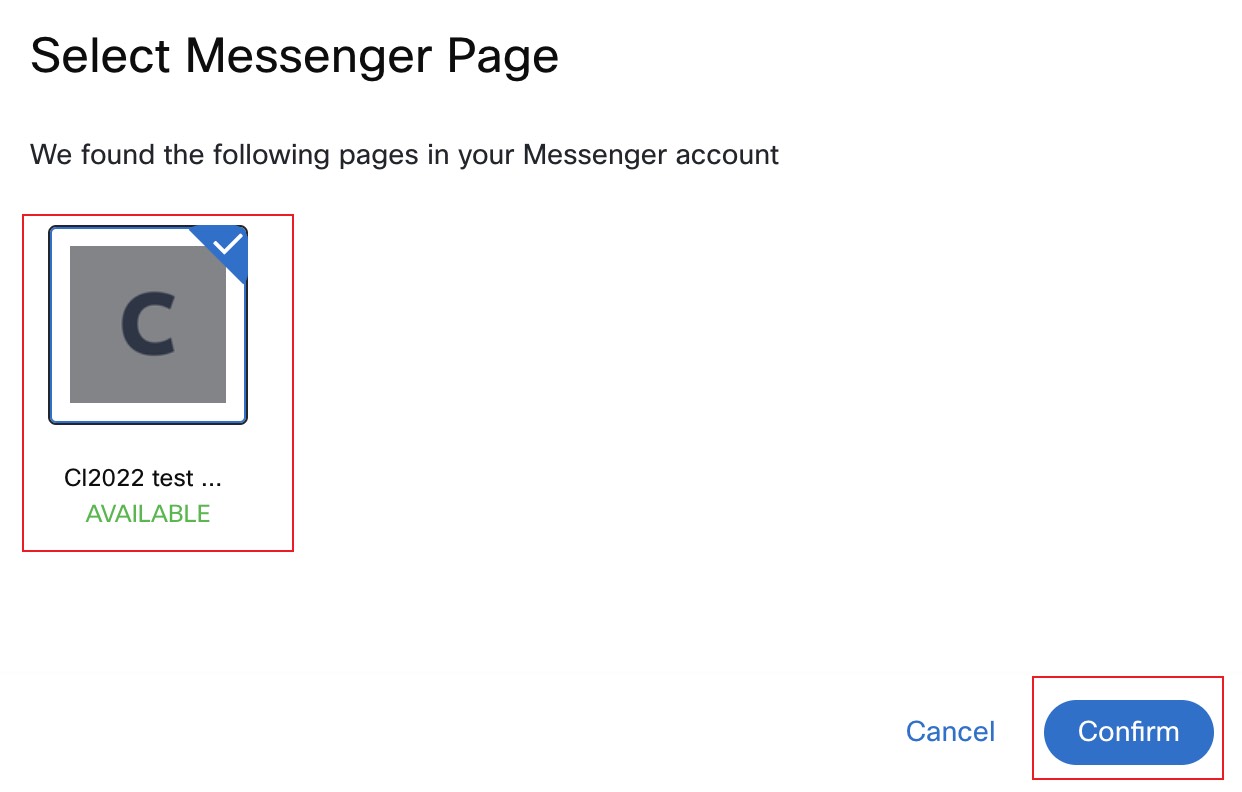
- Provide the name and click
Save
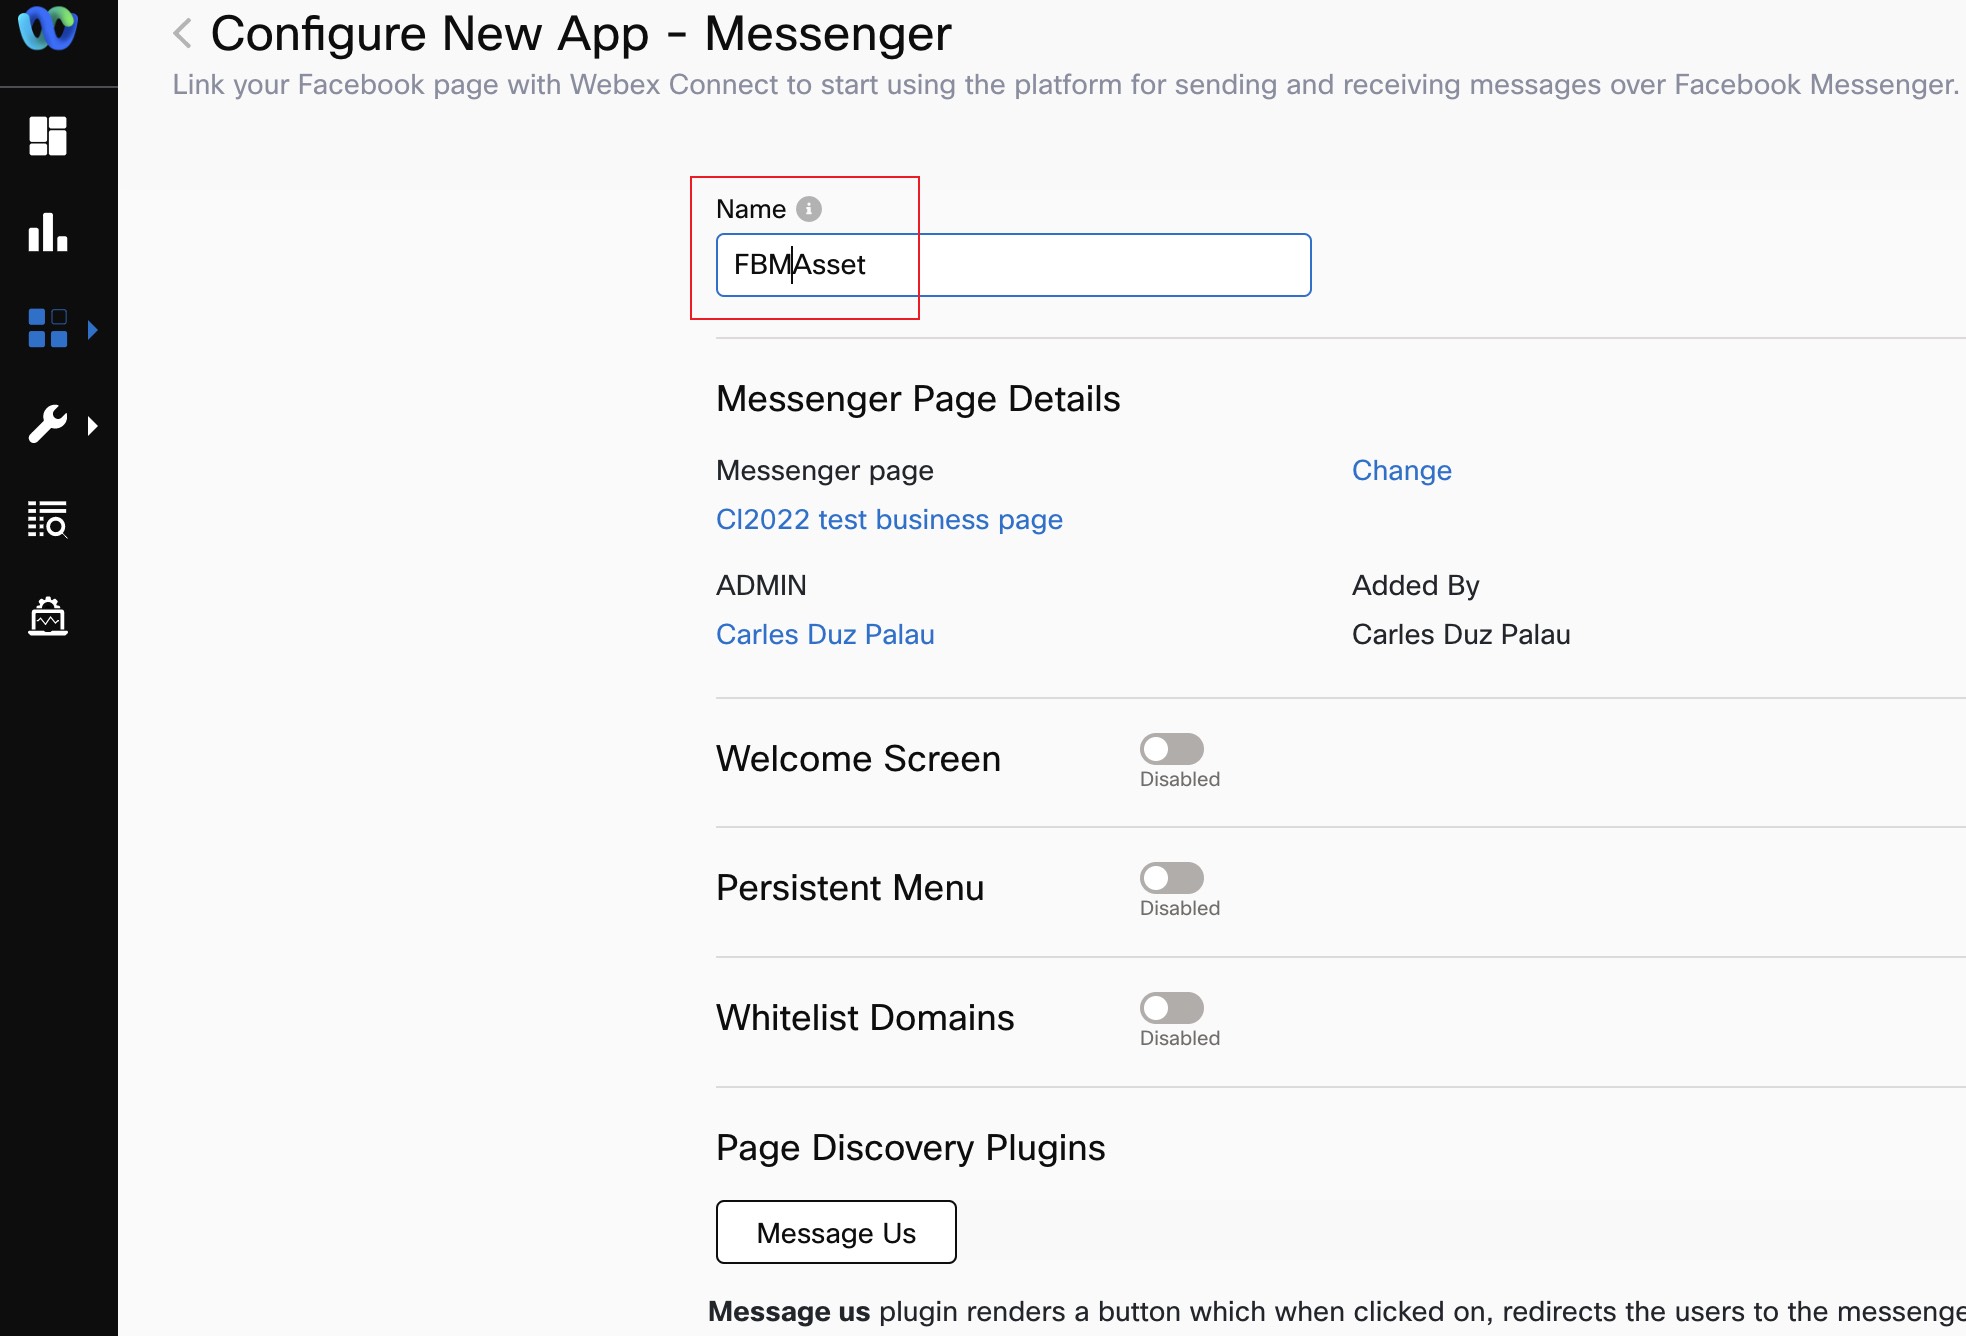
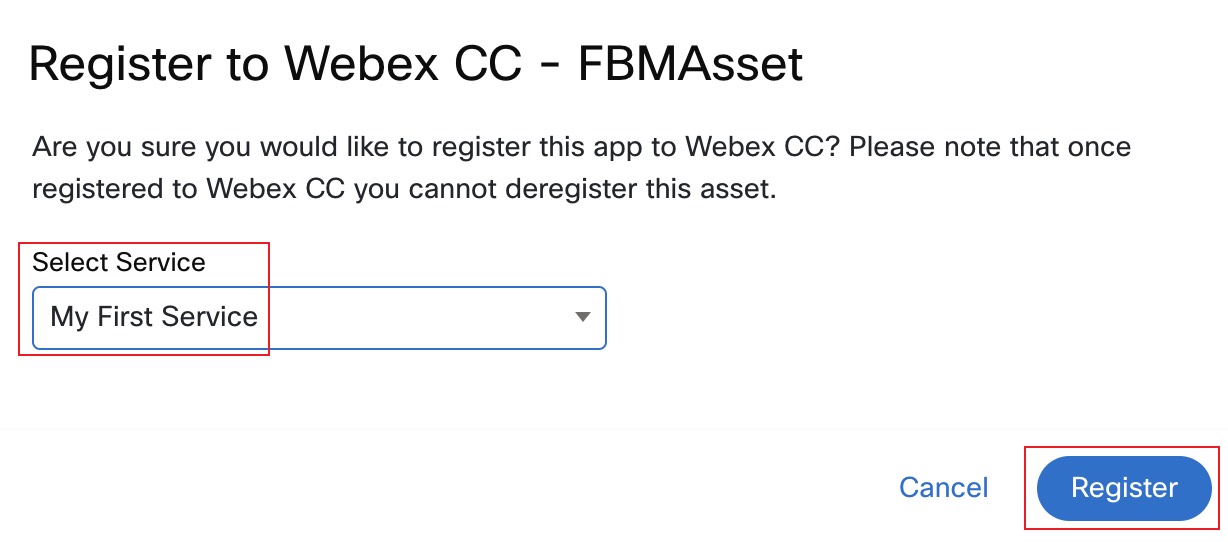
- Click
Register to Webex CCin the ‘Configure New App-Messenger’ window -> In the resulting window select the service and clickRegister.
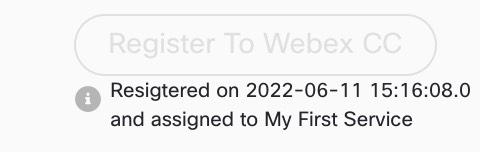
- Confirm that registration with Webex CC completed successfully
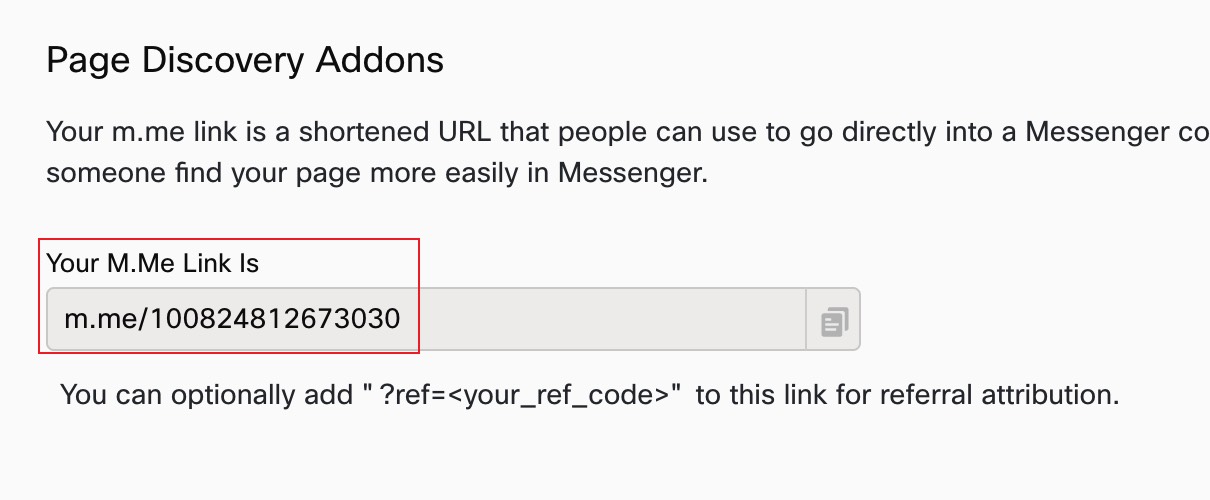
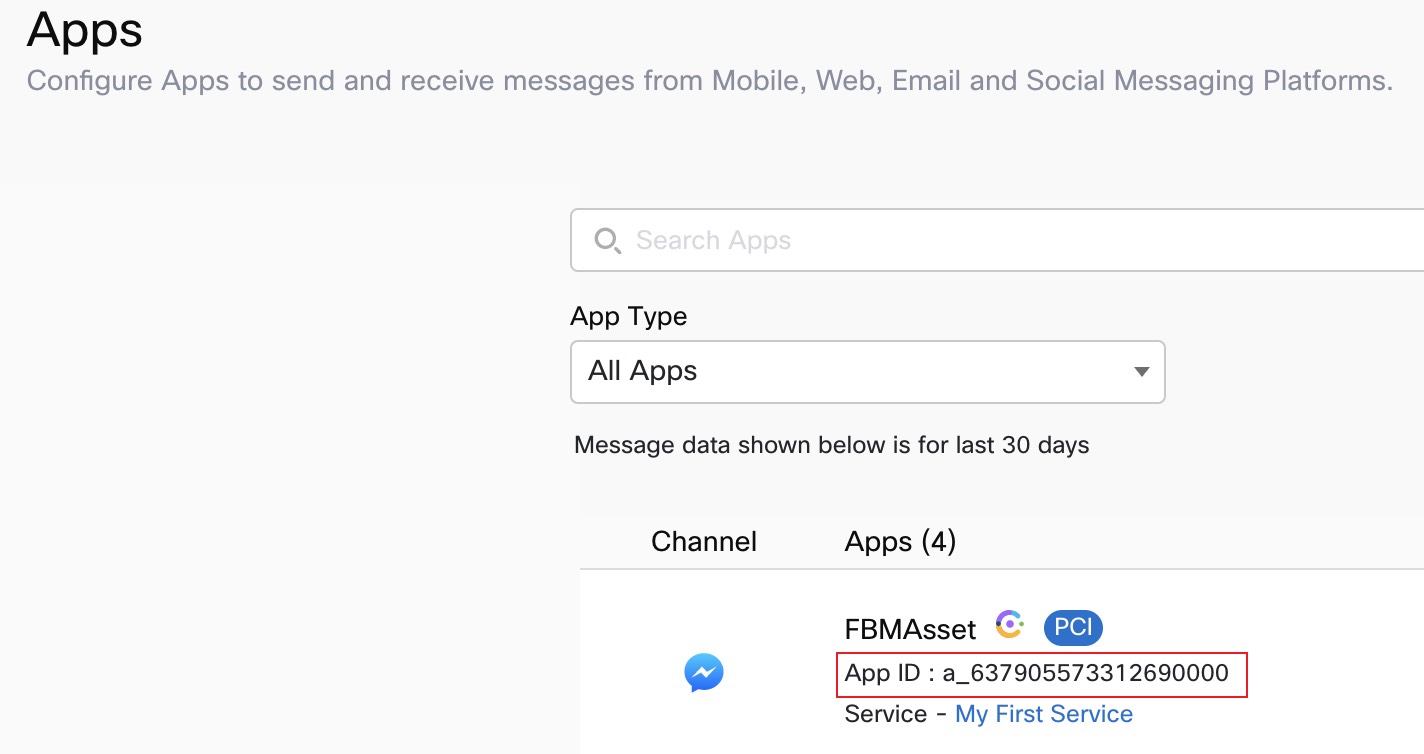
- Scroll down and take note of the M.ne link in the
Page Discovery Addonssection. We will use that link to trigger the Facebook Messenger interaction from the Customer end. Also take note of the numeric string paramenter in the m.me link. That’s theFacebook Page IDwhich we will also need later when configuring the flow.
- Click on the back arrow to go back to the list of Assets Apps. Then take note of the application ID (app id) we just created. We will also need that app ID in the flow
Step 3. Create Entry Point and Queue
1. Create Entry Point in Management Portal
-
Click on Provisioning and select Entry Points/Queues > Entry Point.
-
Click on
New Entry Point. -
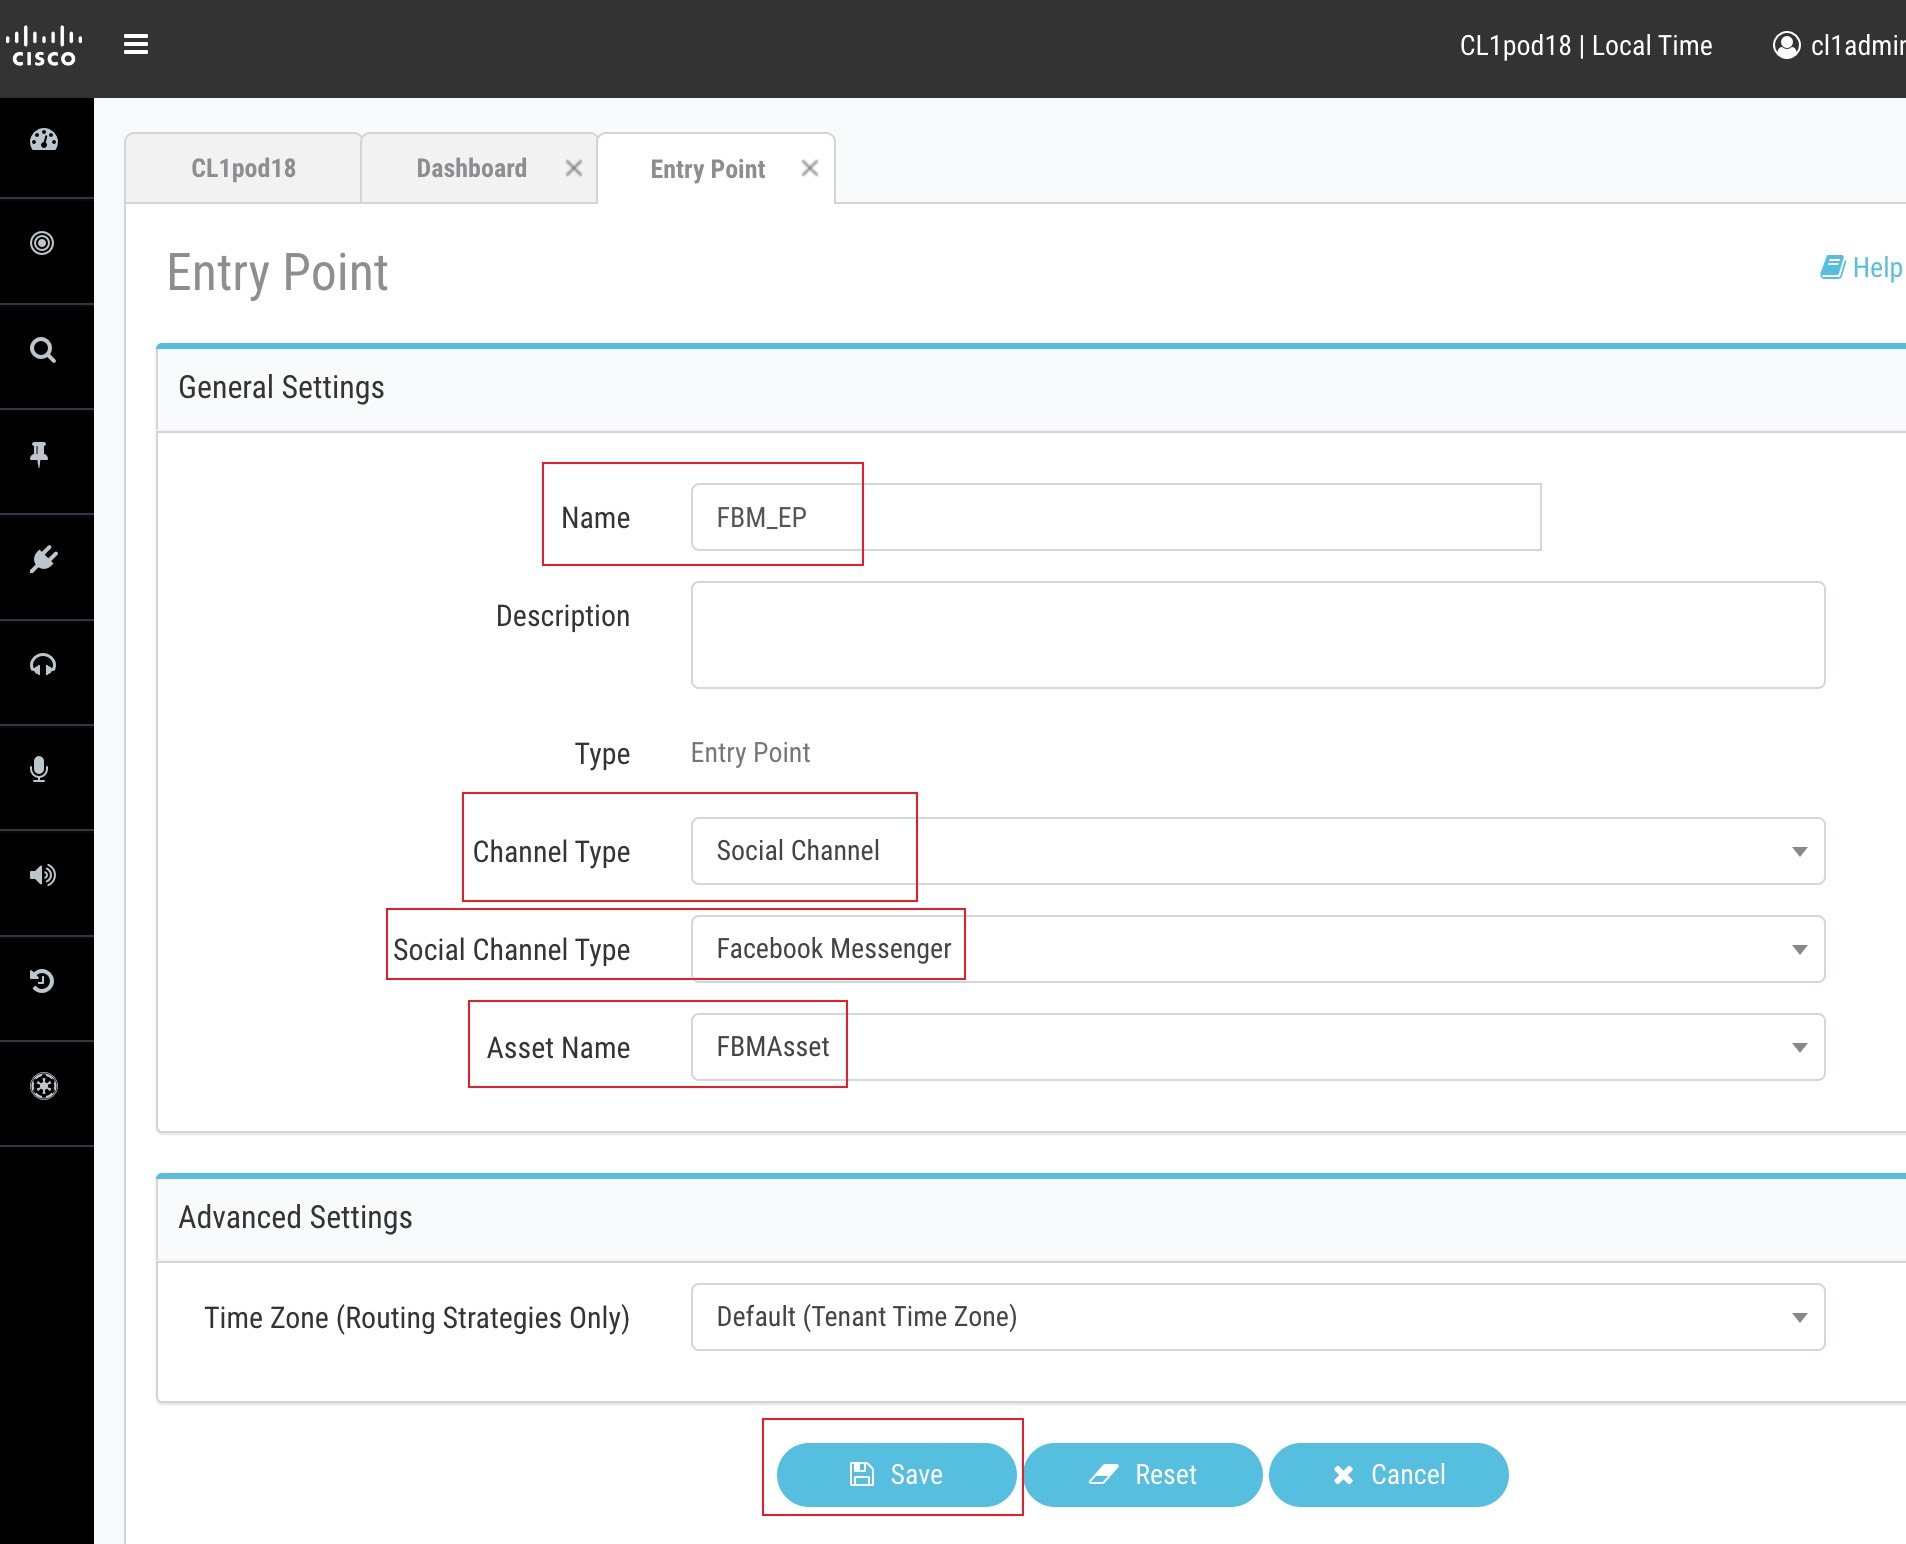
Input Name as
FBM_EP. -
Select
Social Channelin the Channel Type section. - Select
Facebook Messengerin the Social Channel Type section. -
Leave the Asset Name as the configured value earlier.
-
Set Service Level Threshold as
300seconds. -
The Time Zone can stay as default value.
- Click on Save after comparing your values with the screenshot below.
2. Create Queue in Management Portal
-
Click on Provisioning and select Entry Points/Queues > Queue.
-
Click on
New Queue. -
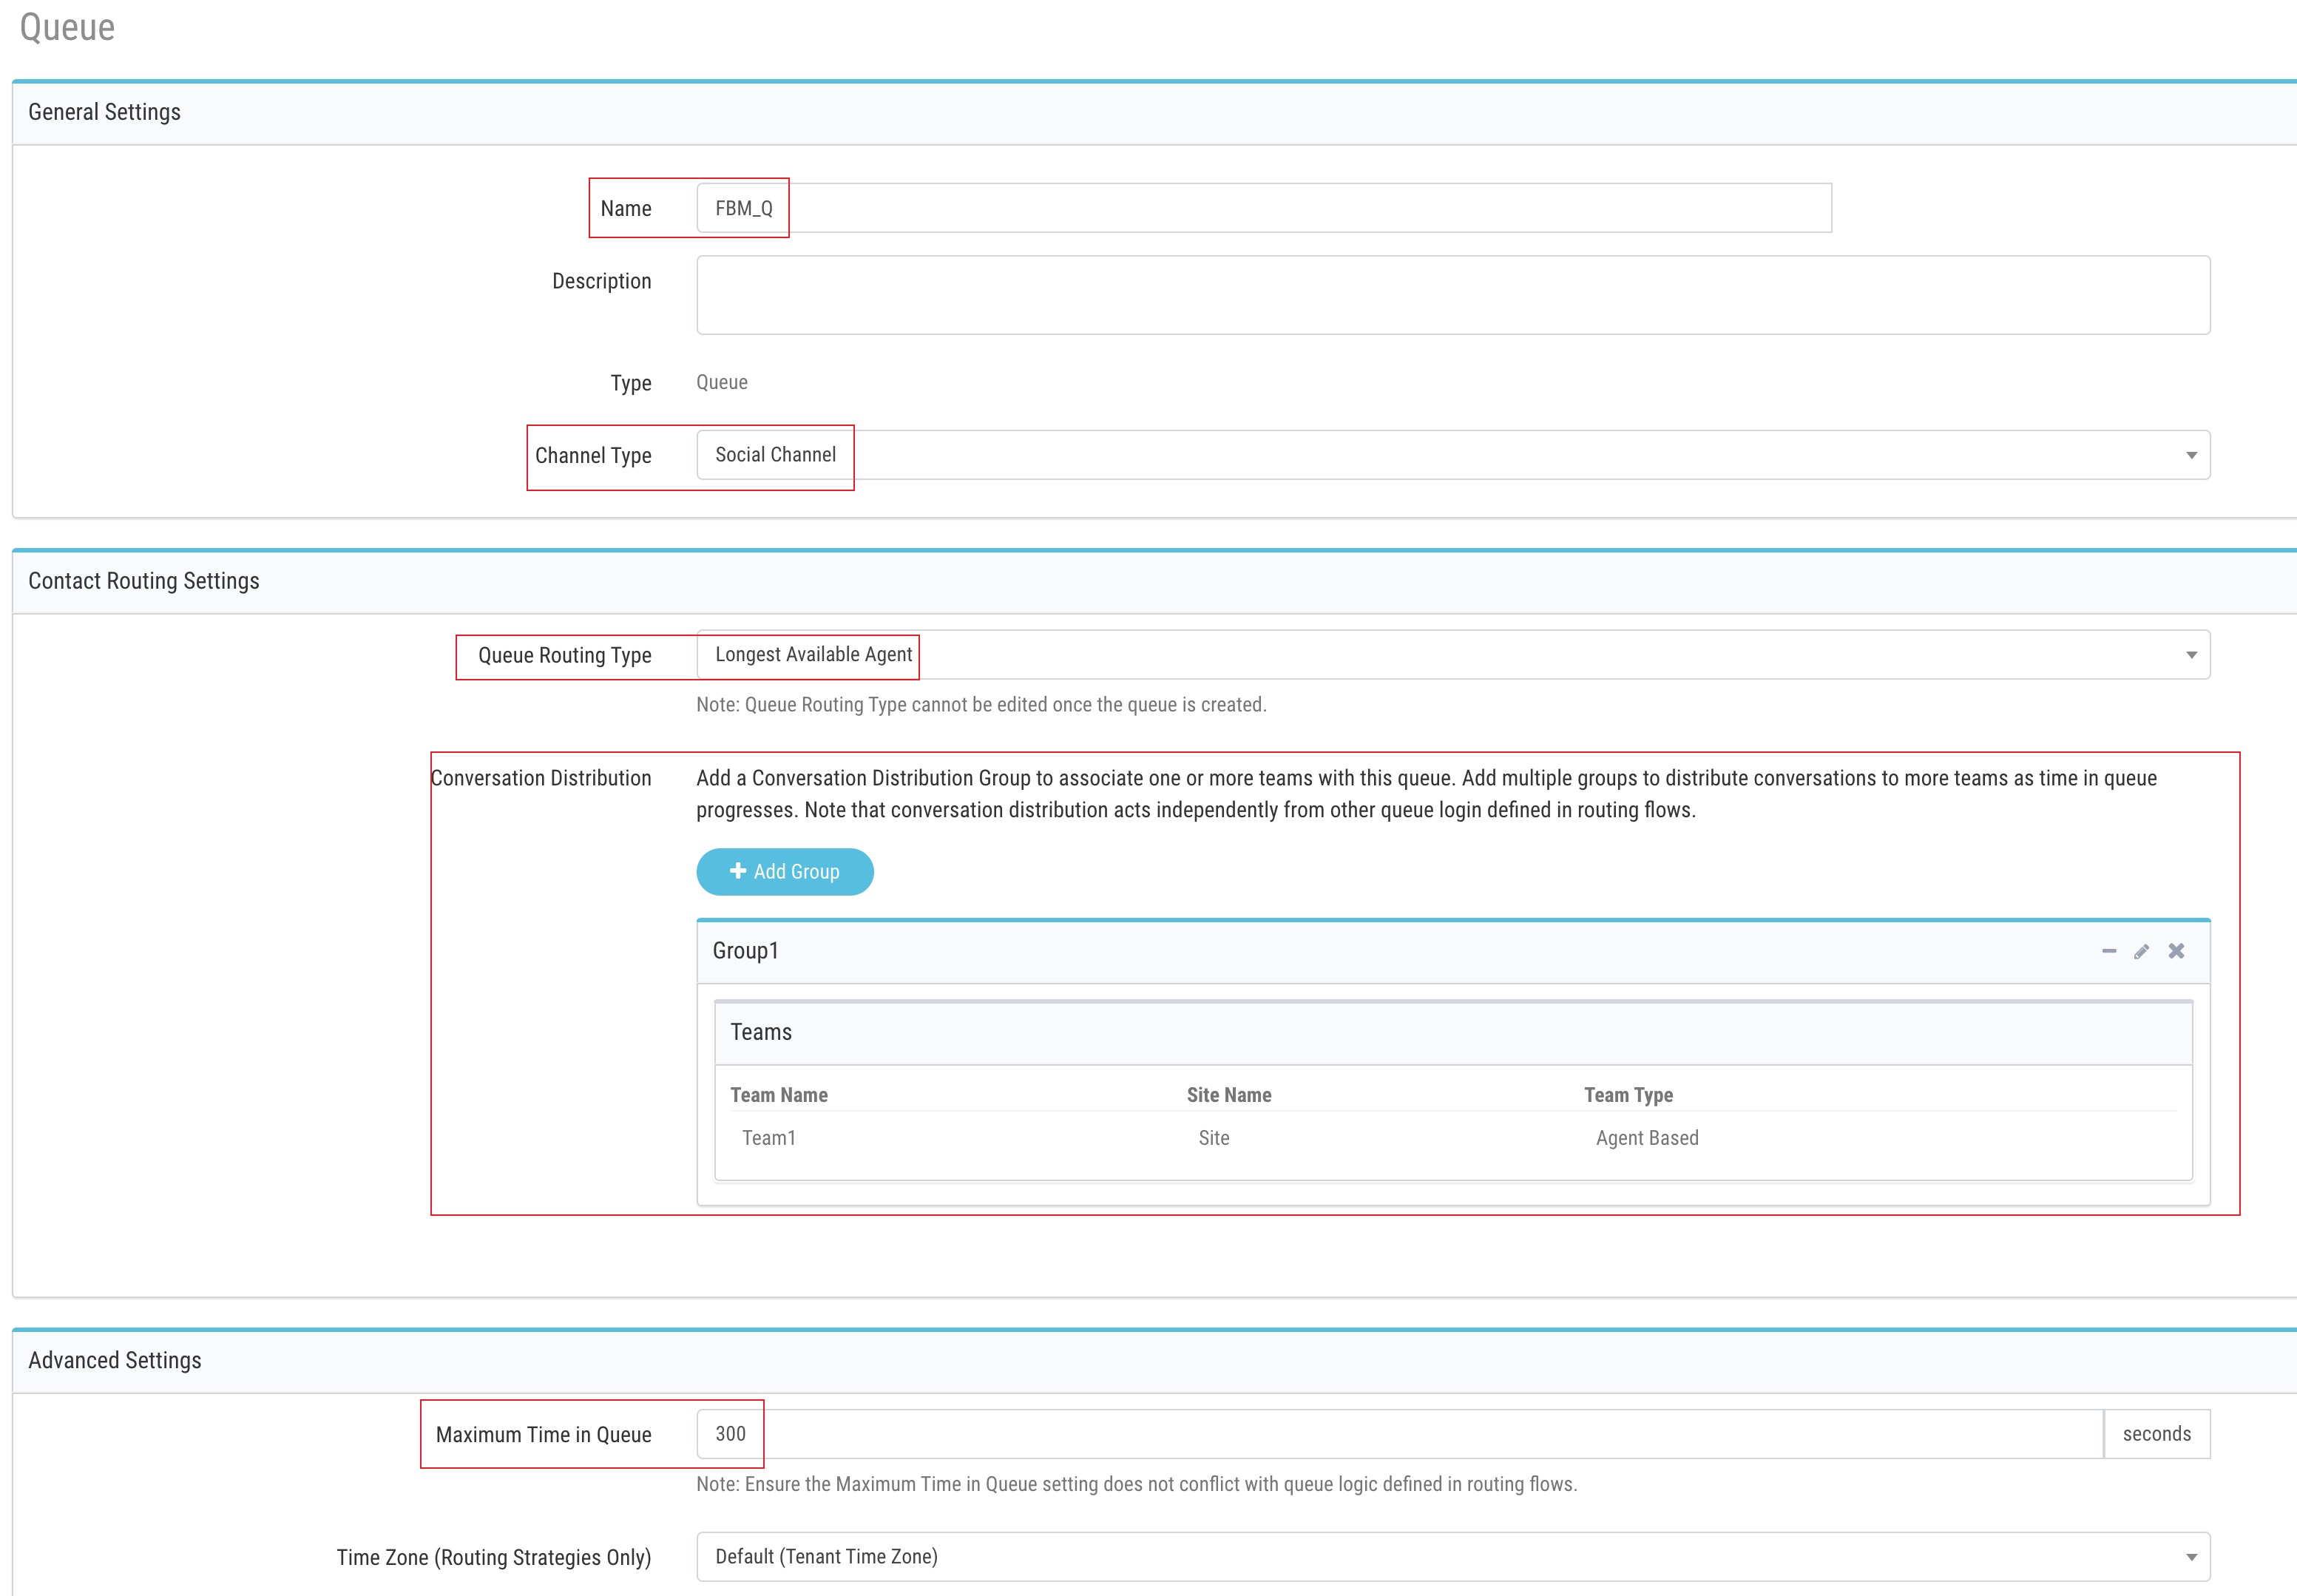
Input Name as
FBM_Q. -
Select
Social Channelin the Channel Type section. -
Click
Add Groupin the Conversation distribution section. -
Select the Agent based teams created in the previous lab and click
Save. Once saved, clickCloseto exit this window. -
Input Maximum Time in Queue as
300. -
The Time Zone can stay as default value.
-
Click on Save after comparing your values with the screenshot below.
Step 4. Create/Upload Facebook Messenger flow
1. Initial flow loading
-
Download the default Facebook Inbound flow from the GitHub page.
-
Navigate to Webex Connect Flows -> v2.1 -> Facebook Inbound Flow.workflow.zip, select the zip file and click download.
-
Unzip the downloaded file.
-
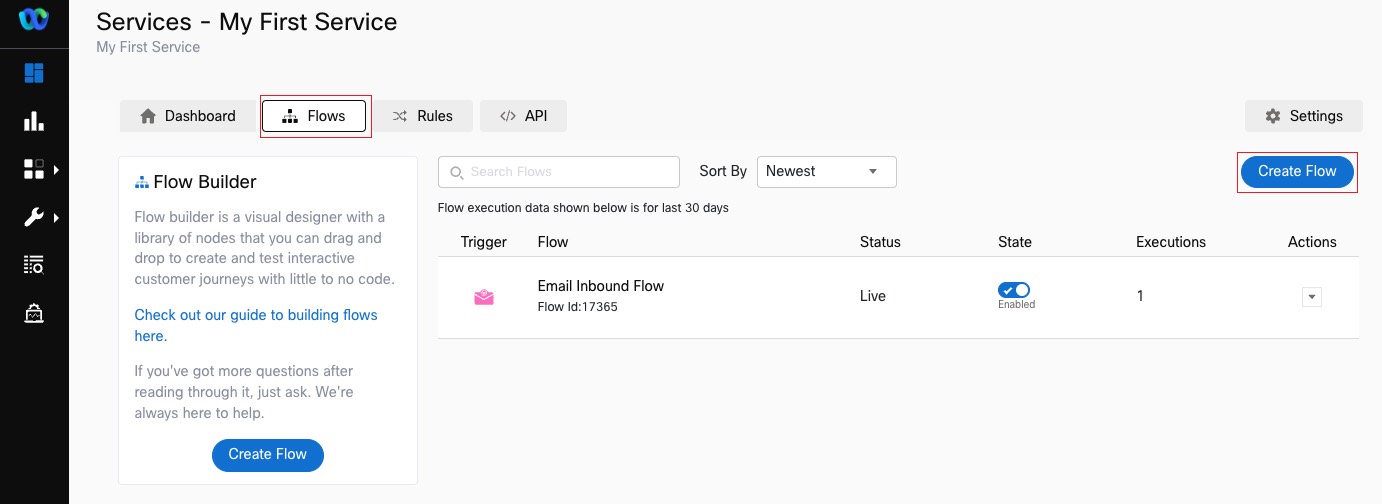
Go to Webex Connect, click on Services and select the service in which the Asset is created in step 2. It should be My First Service
-
In the service click on FLOWS -> CREATE FLOW .
-
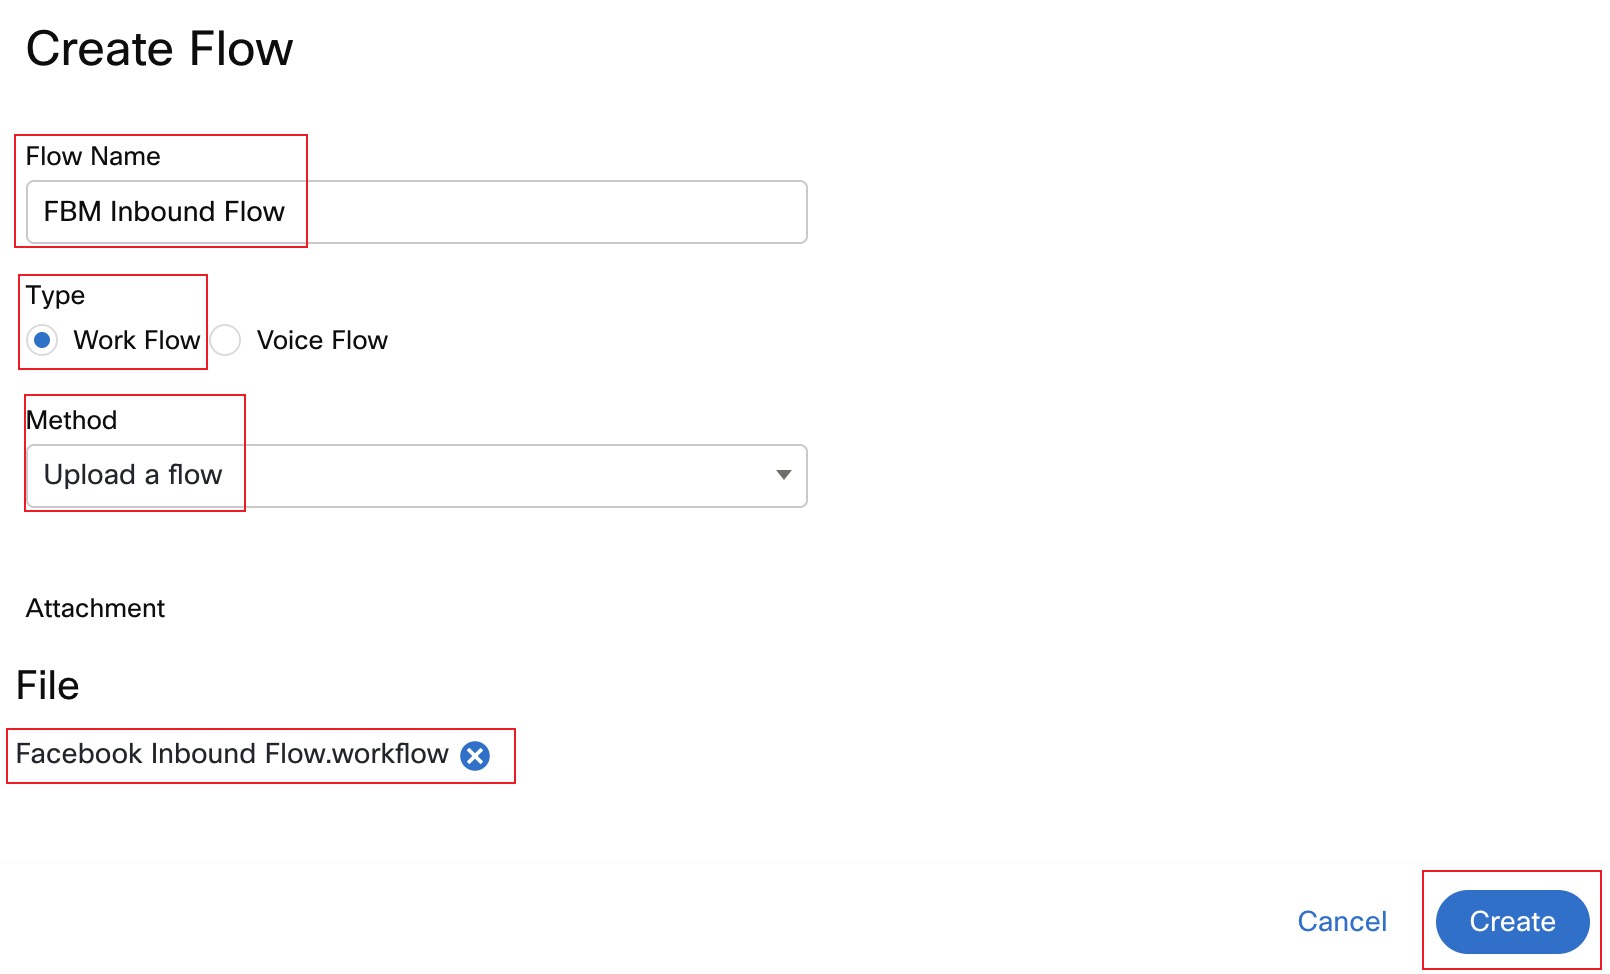
Enter the FLOW NAME as FBM Inbound Flow, select the TYPE as Work Flow and under METHOD select Upload a flow.
-
Drag and drop the Facebook Inbound Flow.workflow flow file that you unzipped, click CREATE and then click SAVE.
2. Start node and Custom Variables
-
A page will load with the imported workflow. We must make some changes to the default inbound flow based on our setup.
-
First Click
Savein theConfigure APP Eventpage that loaded, this defines what will trigger the flow and the default settings are already good.

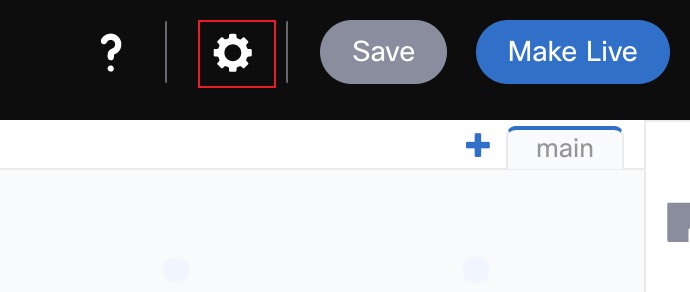
- Click on the gear button on the top right to load the flow settings dialog
- Select the Custom Variables tab and set the following Default Values:
FBPageID: to the numeric string in the m.me link we saved earlier in Step 2.
appid: Application ID (appID) from the FBM Asset from Step 2
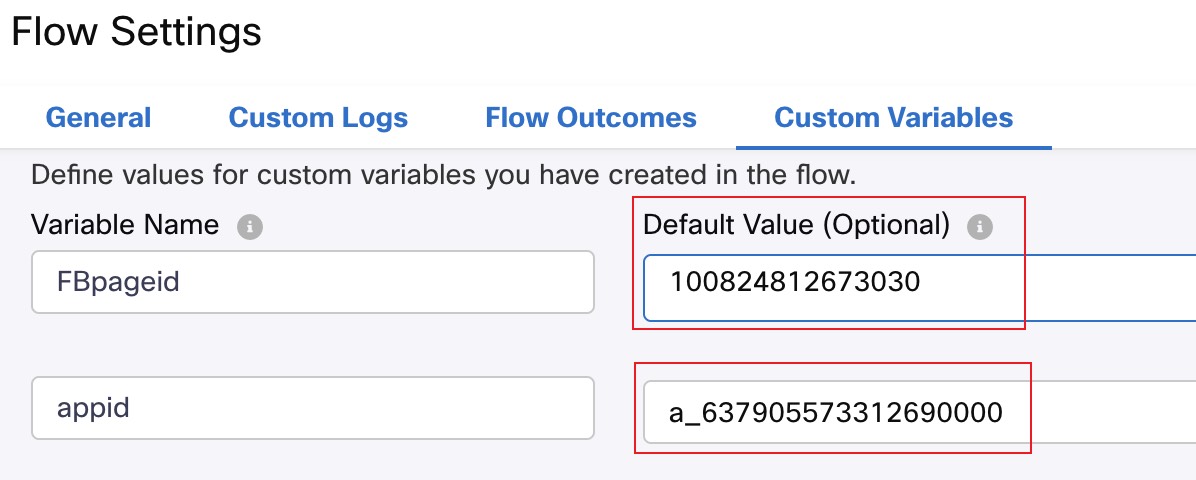
- Click
Save
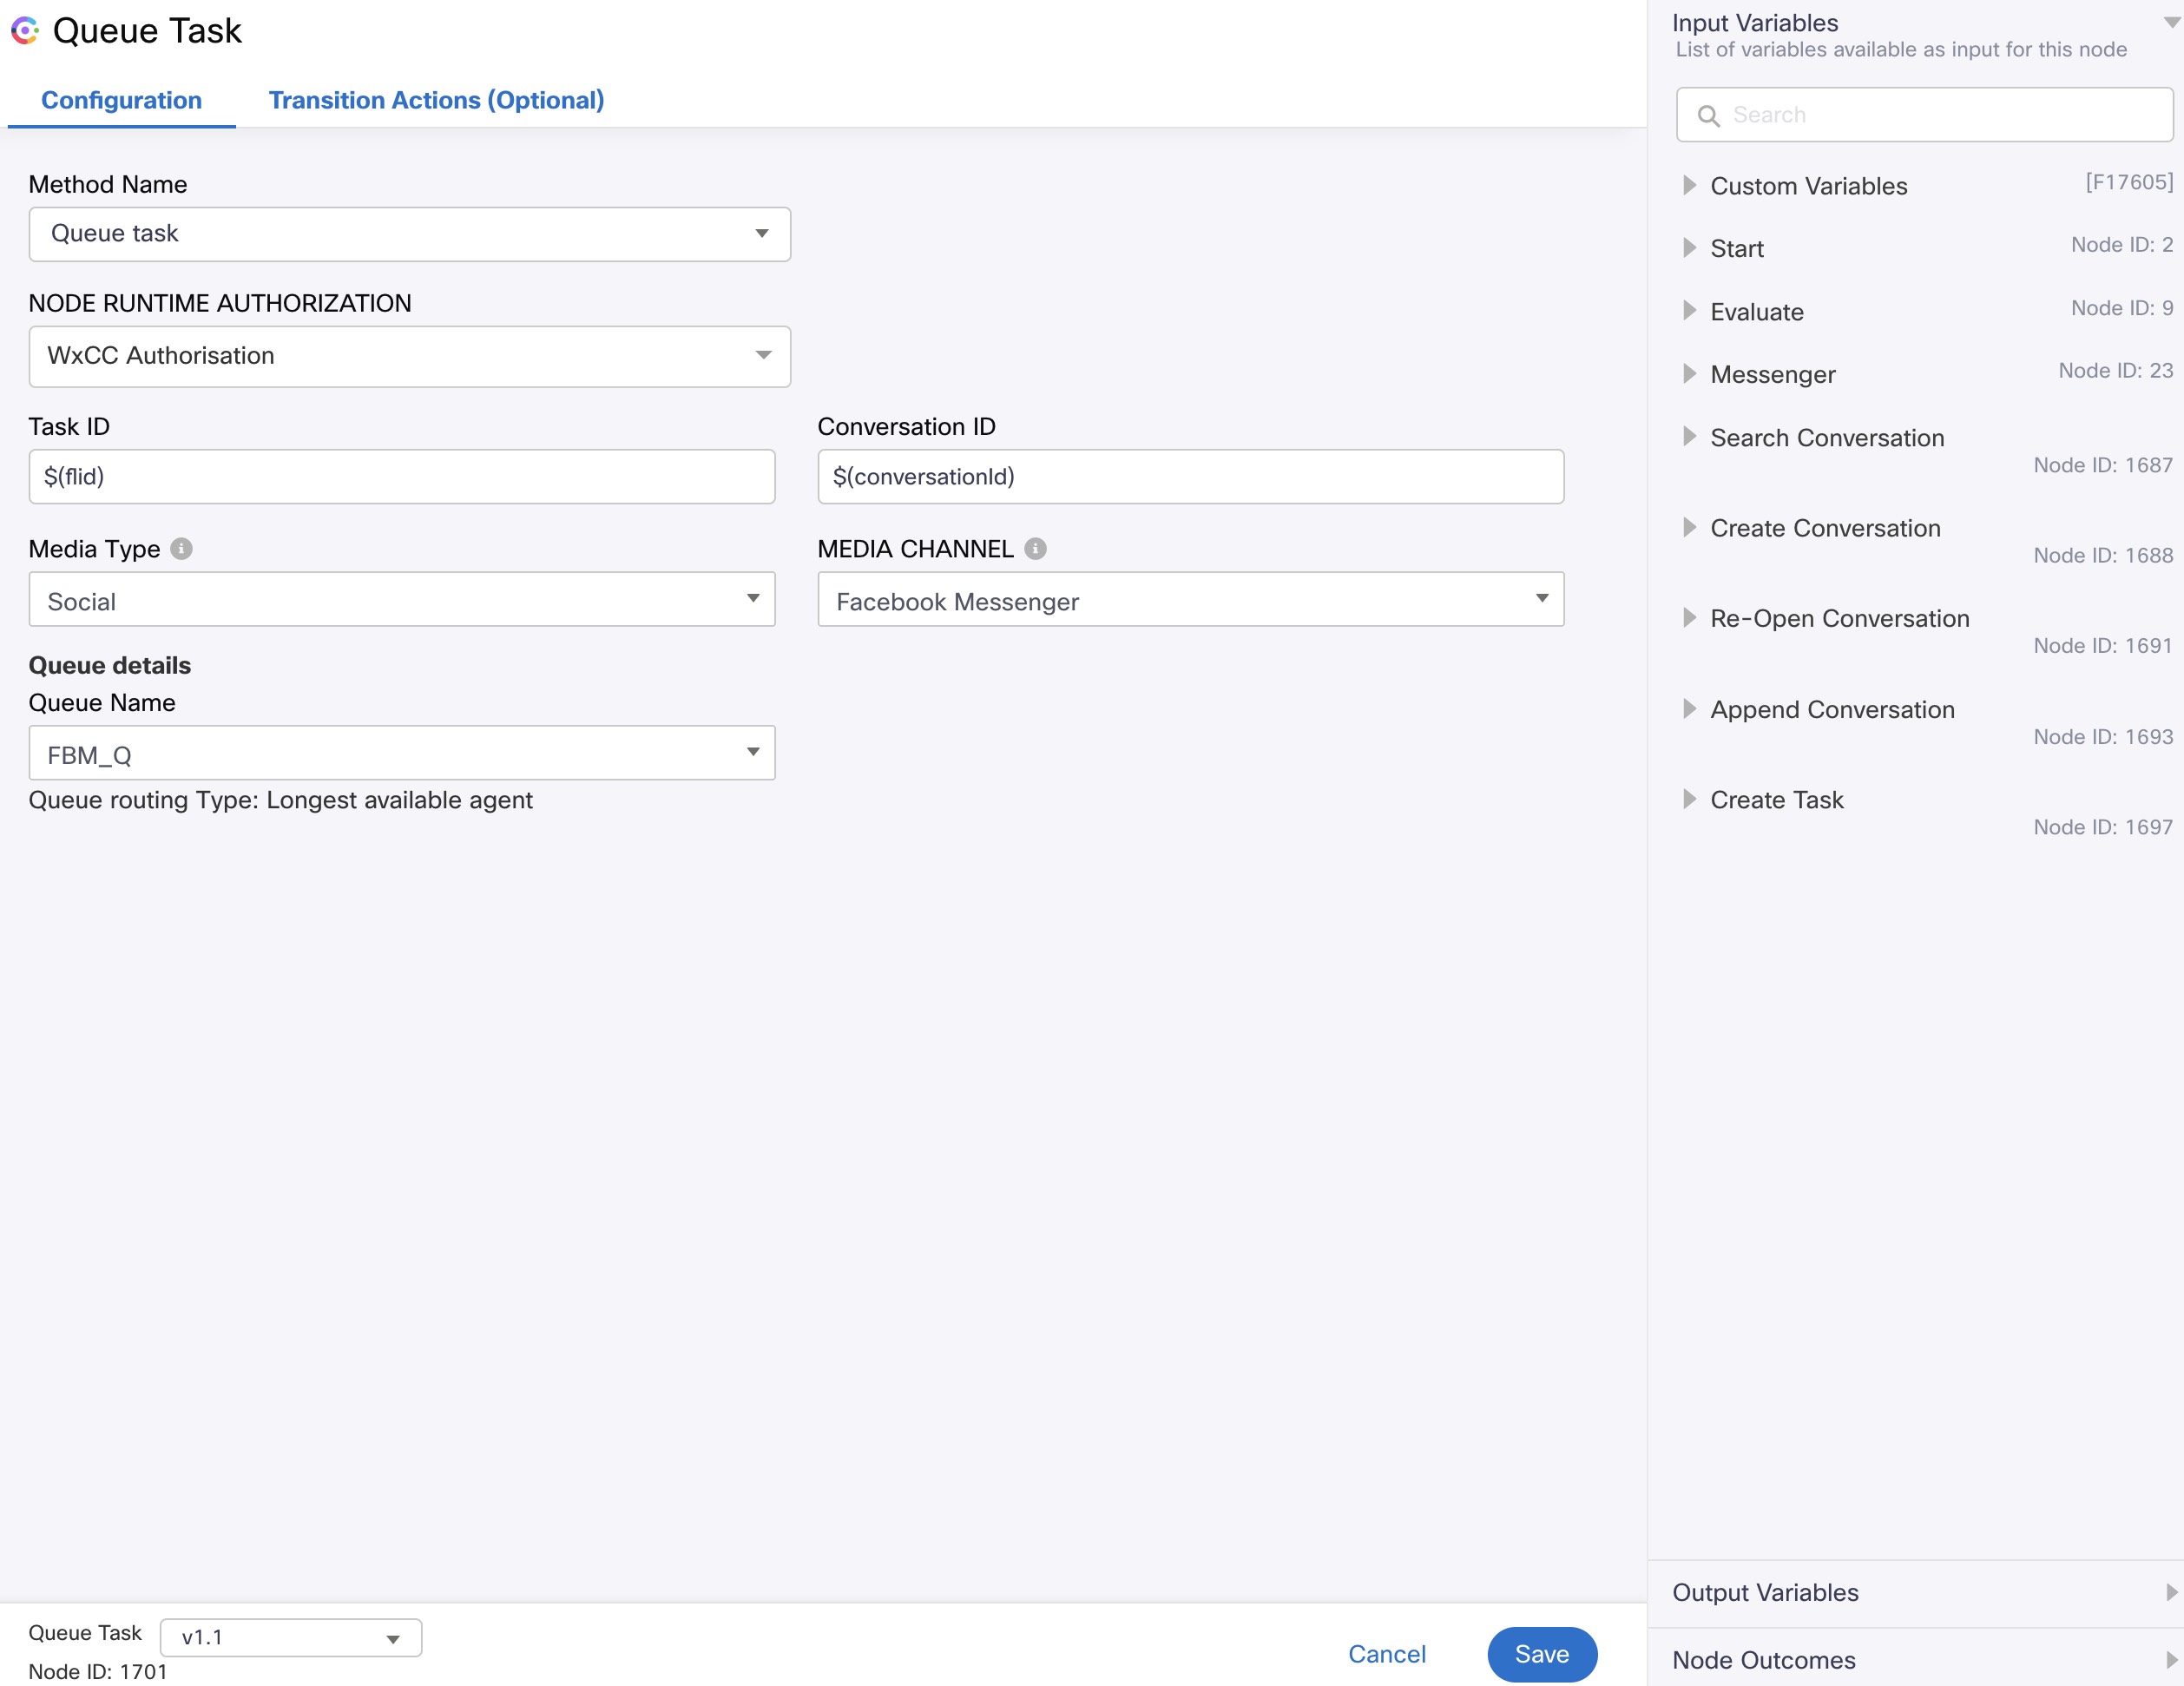
3. Edit Queue Task node
- In the created workflow find the Queue Task, click twice, select the QUEUE NAME as FBM_Q and add Skill requirement for Sales to be True and click on SAVE.
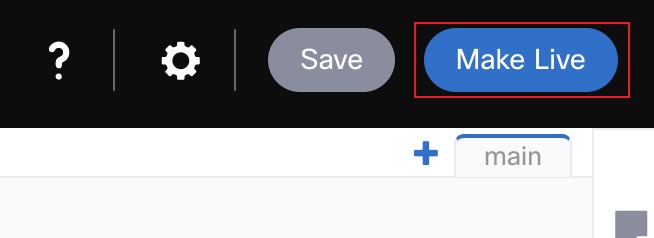
- Finally click on Make Live on top right corner
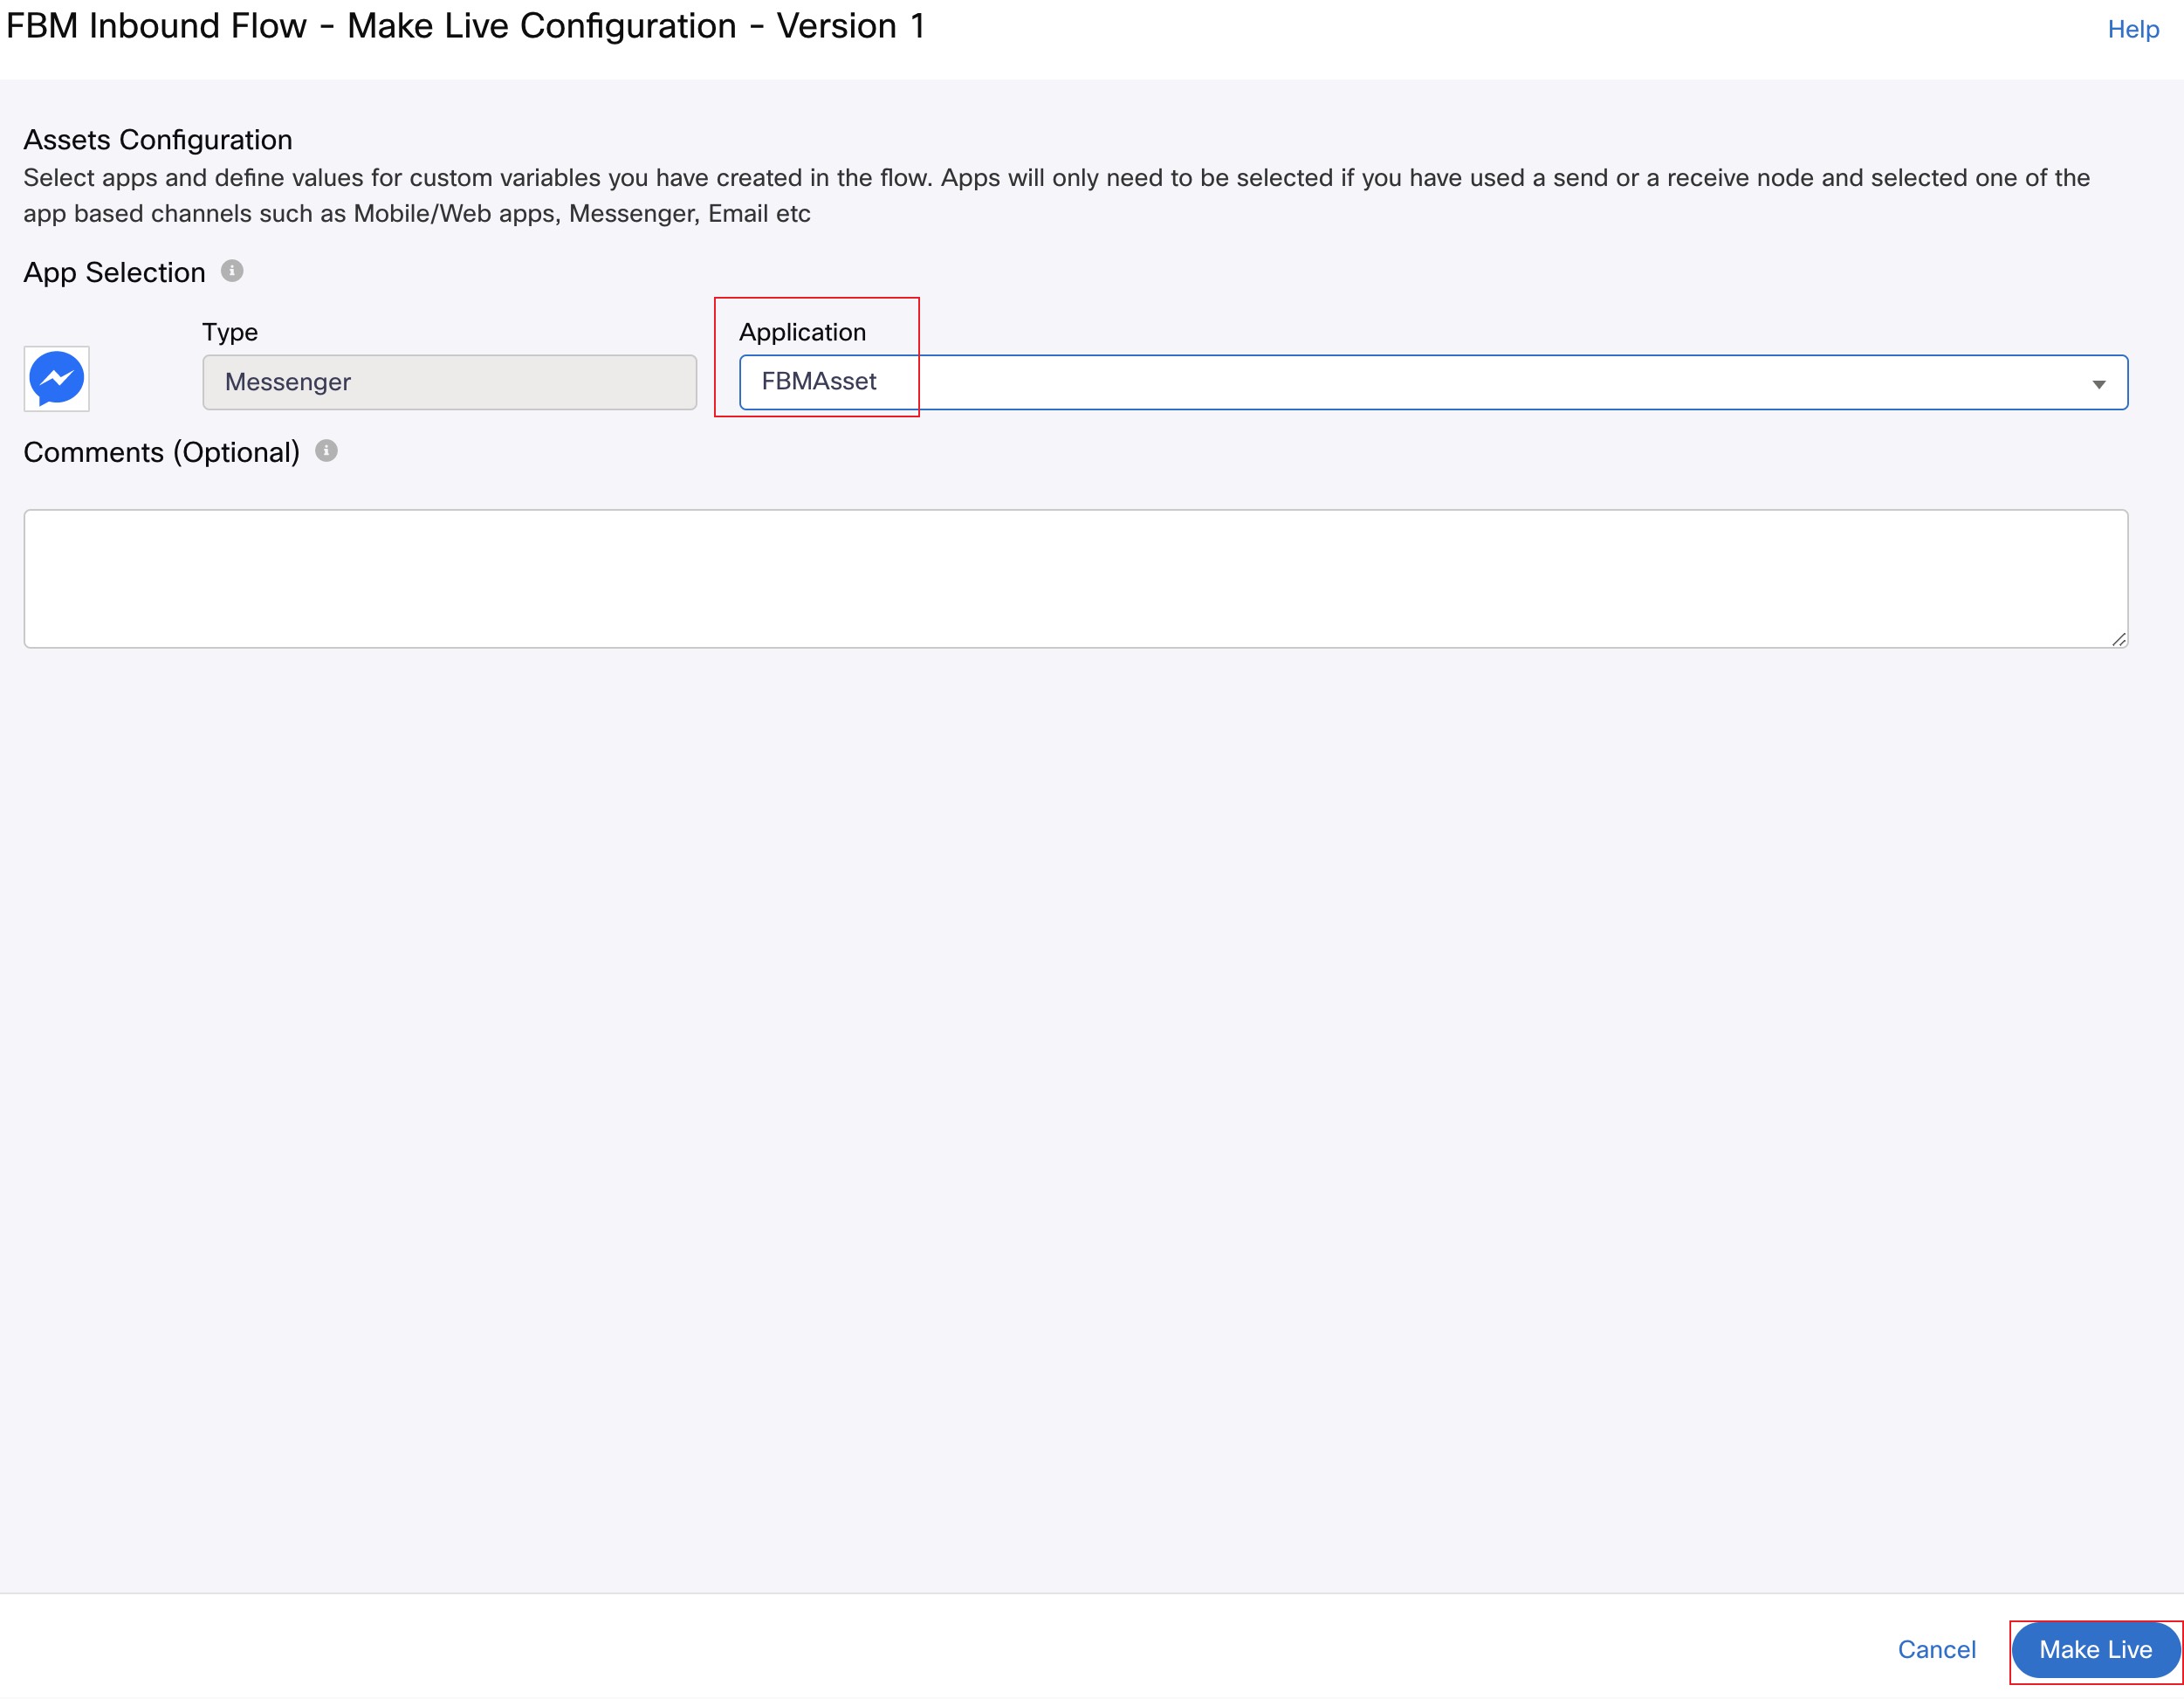
- Select the Application/Asset that we have created and click
Make Live.
- Wait for 2 minutes and verify that the flow is published successfully.
Step 5. Verification - start Facebook Chat and accept the request
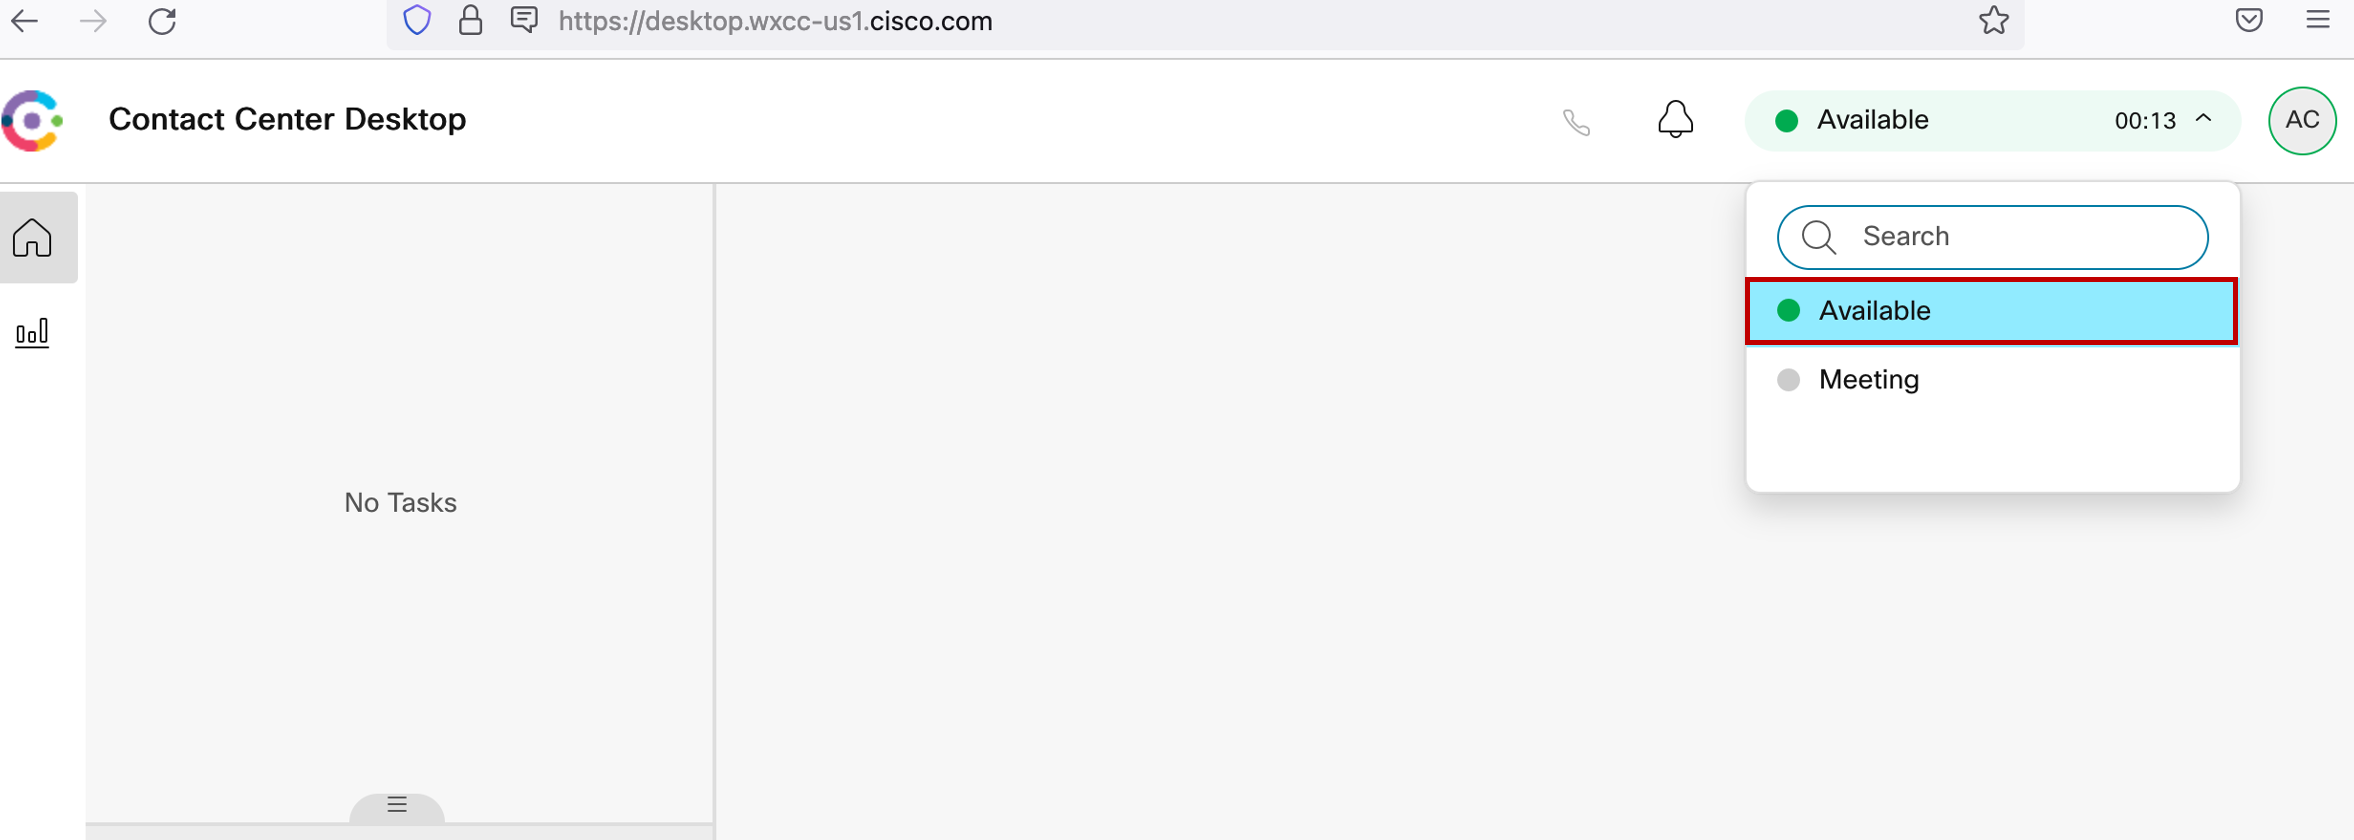
- Open a new tab and login to the Agent Desktop if you haven’t done already and make the agent Available (if you haven’t done already in Lab2).
- Open a new tab on the same browser session to make sure you are still authenticated to Facebook. Go to the M.me URL you copied in Step 2 and the following FBM page should load with the Facebook Business page chat you created earlier
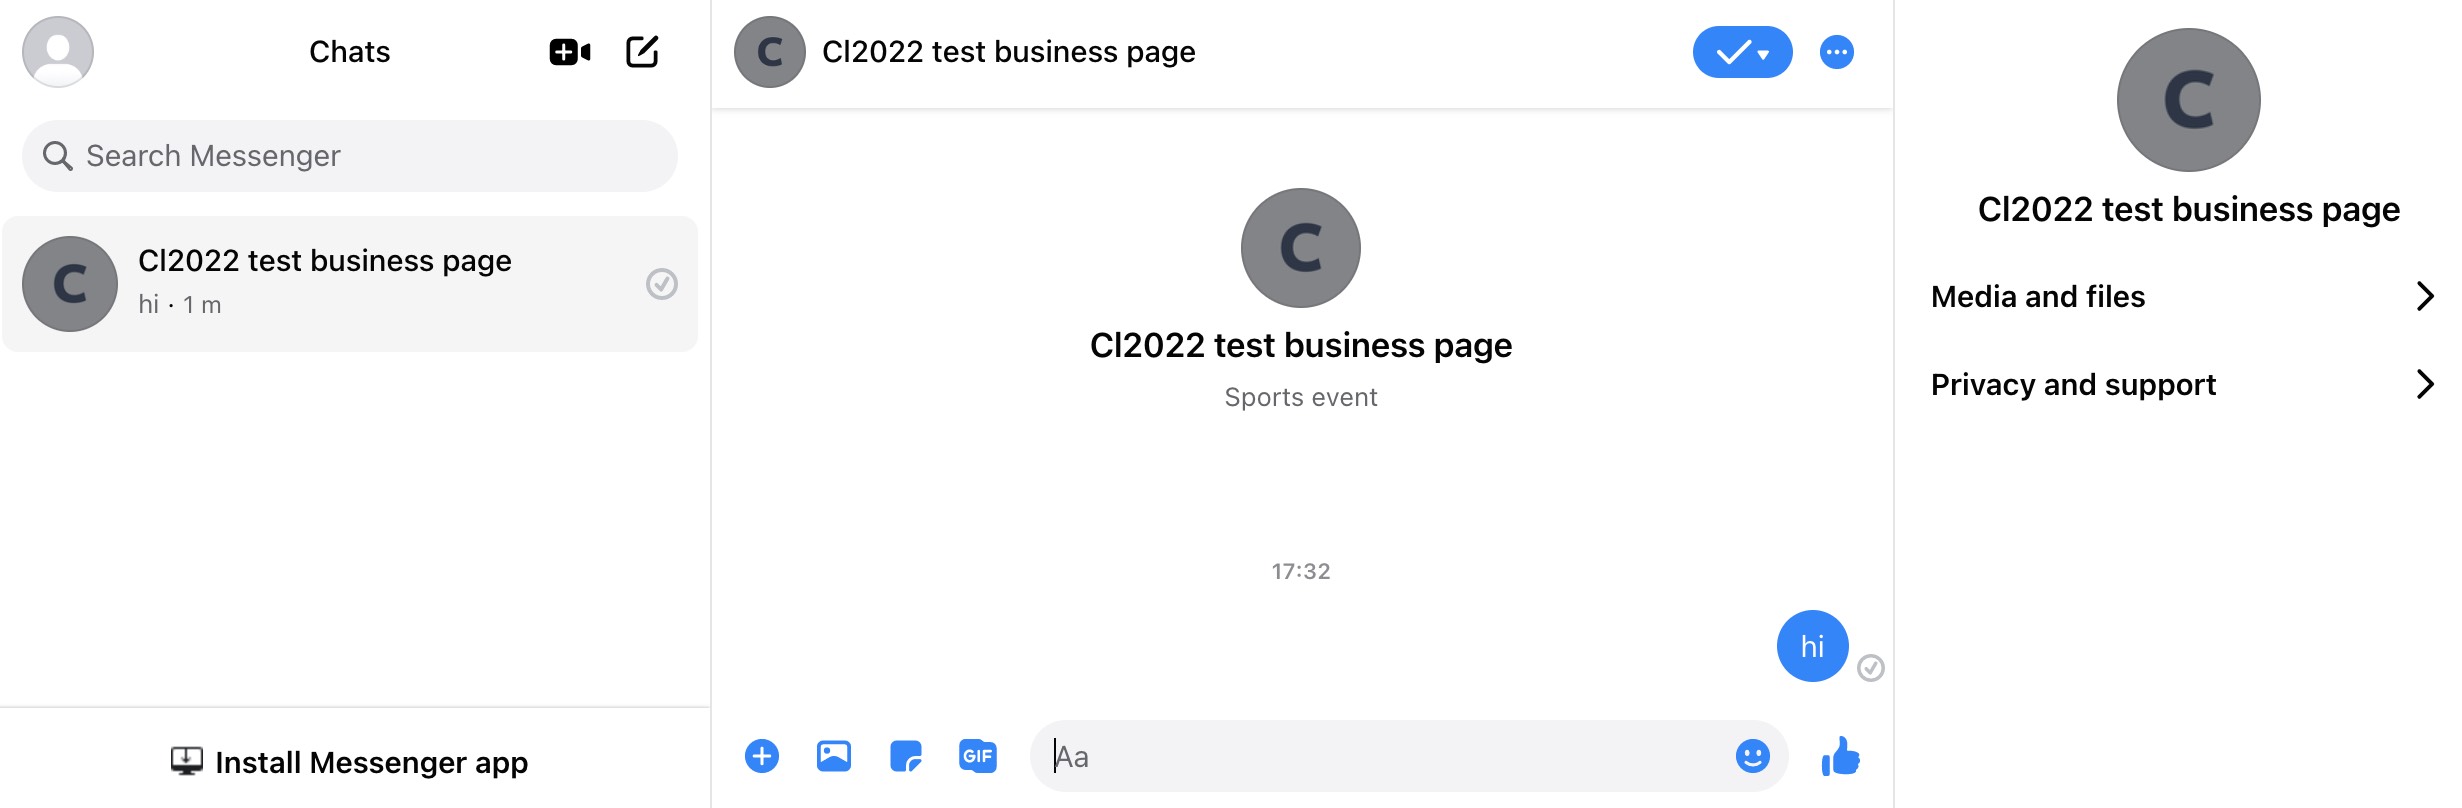
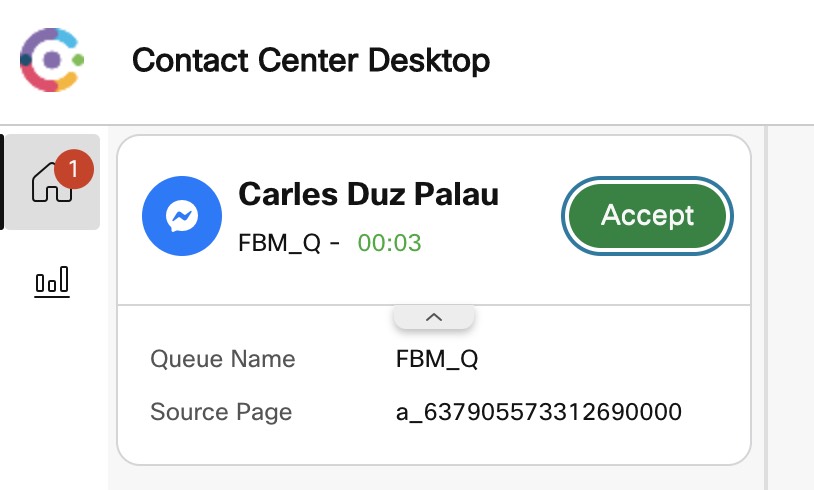
- Start chatting and that should trigger a contact into Webex CC that will get routed according to the flow we configured in Step 4. A notification should appear that should help you switch to the agent desktop tab to accept the contact
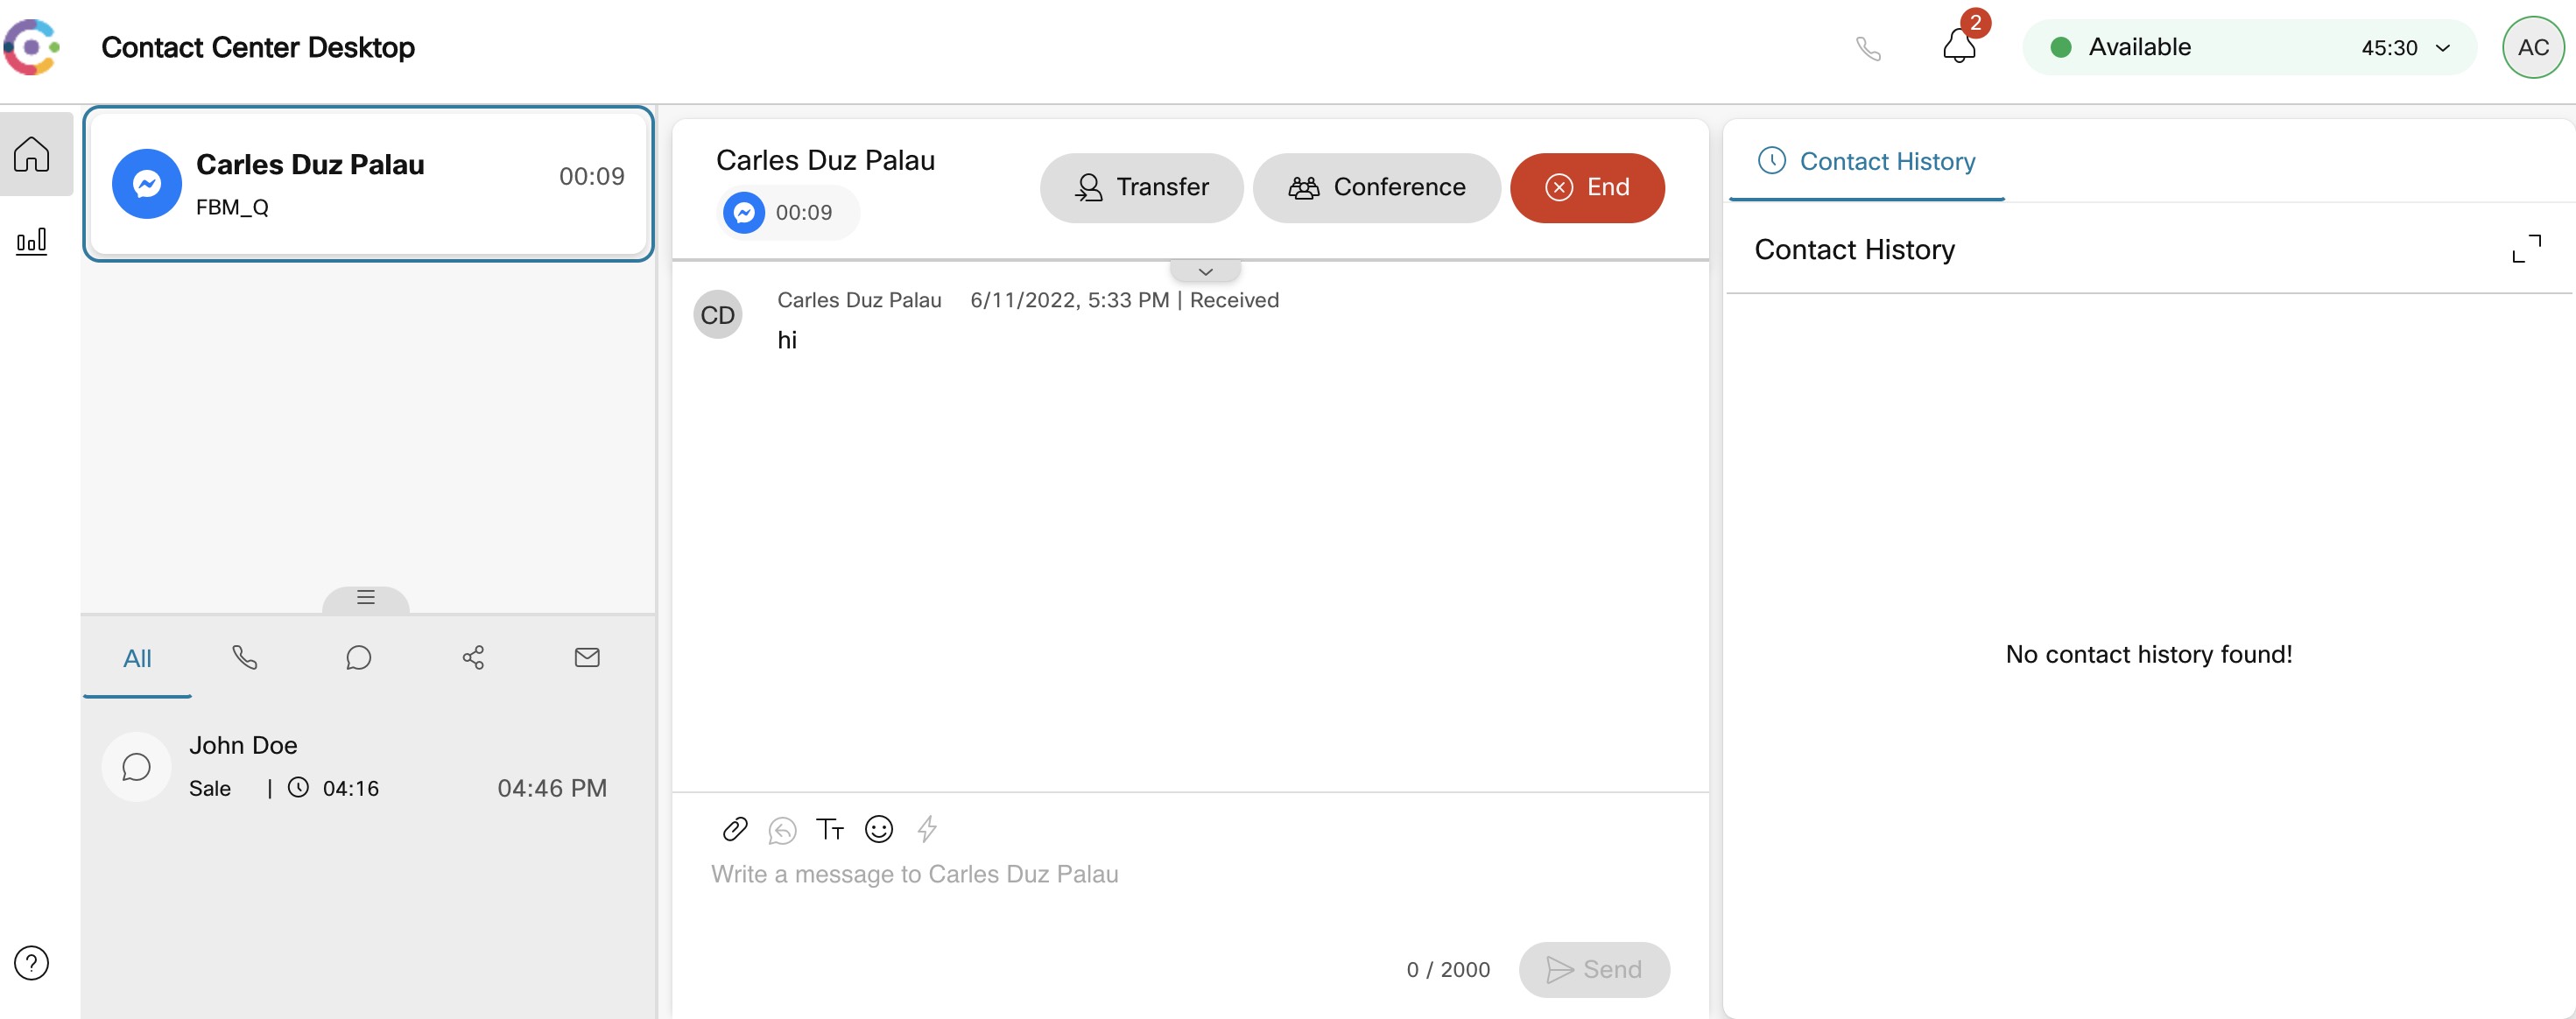
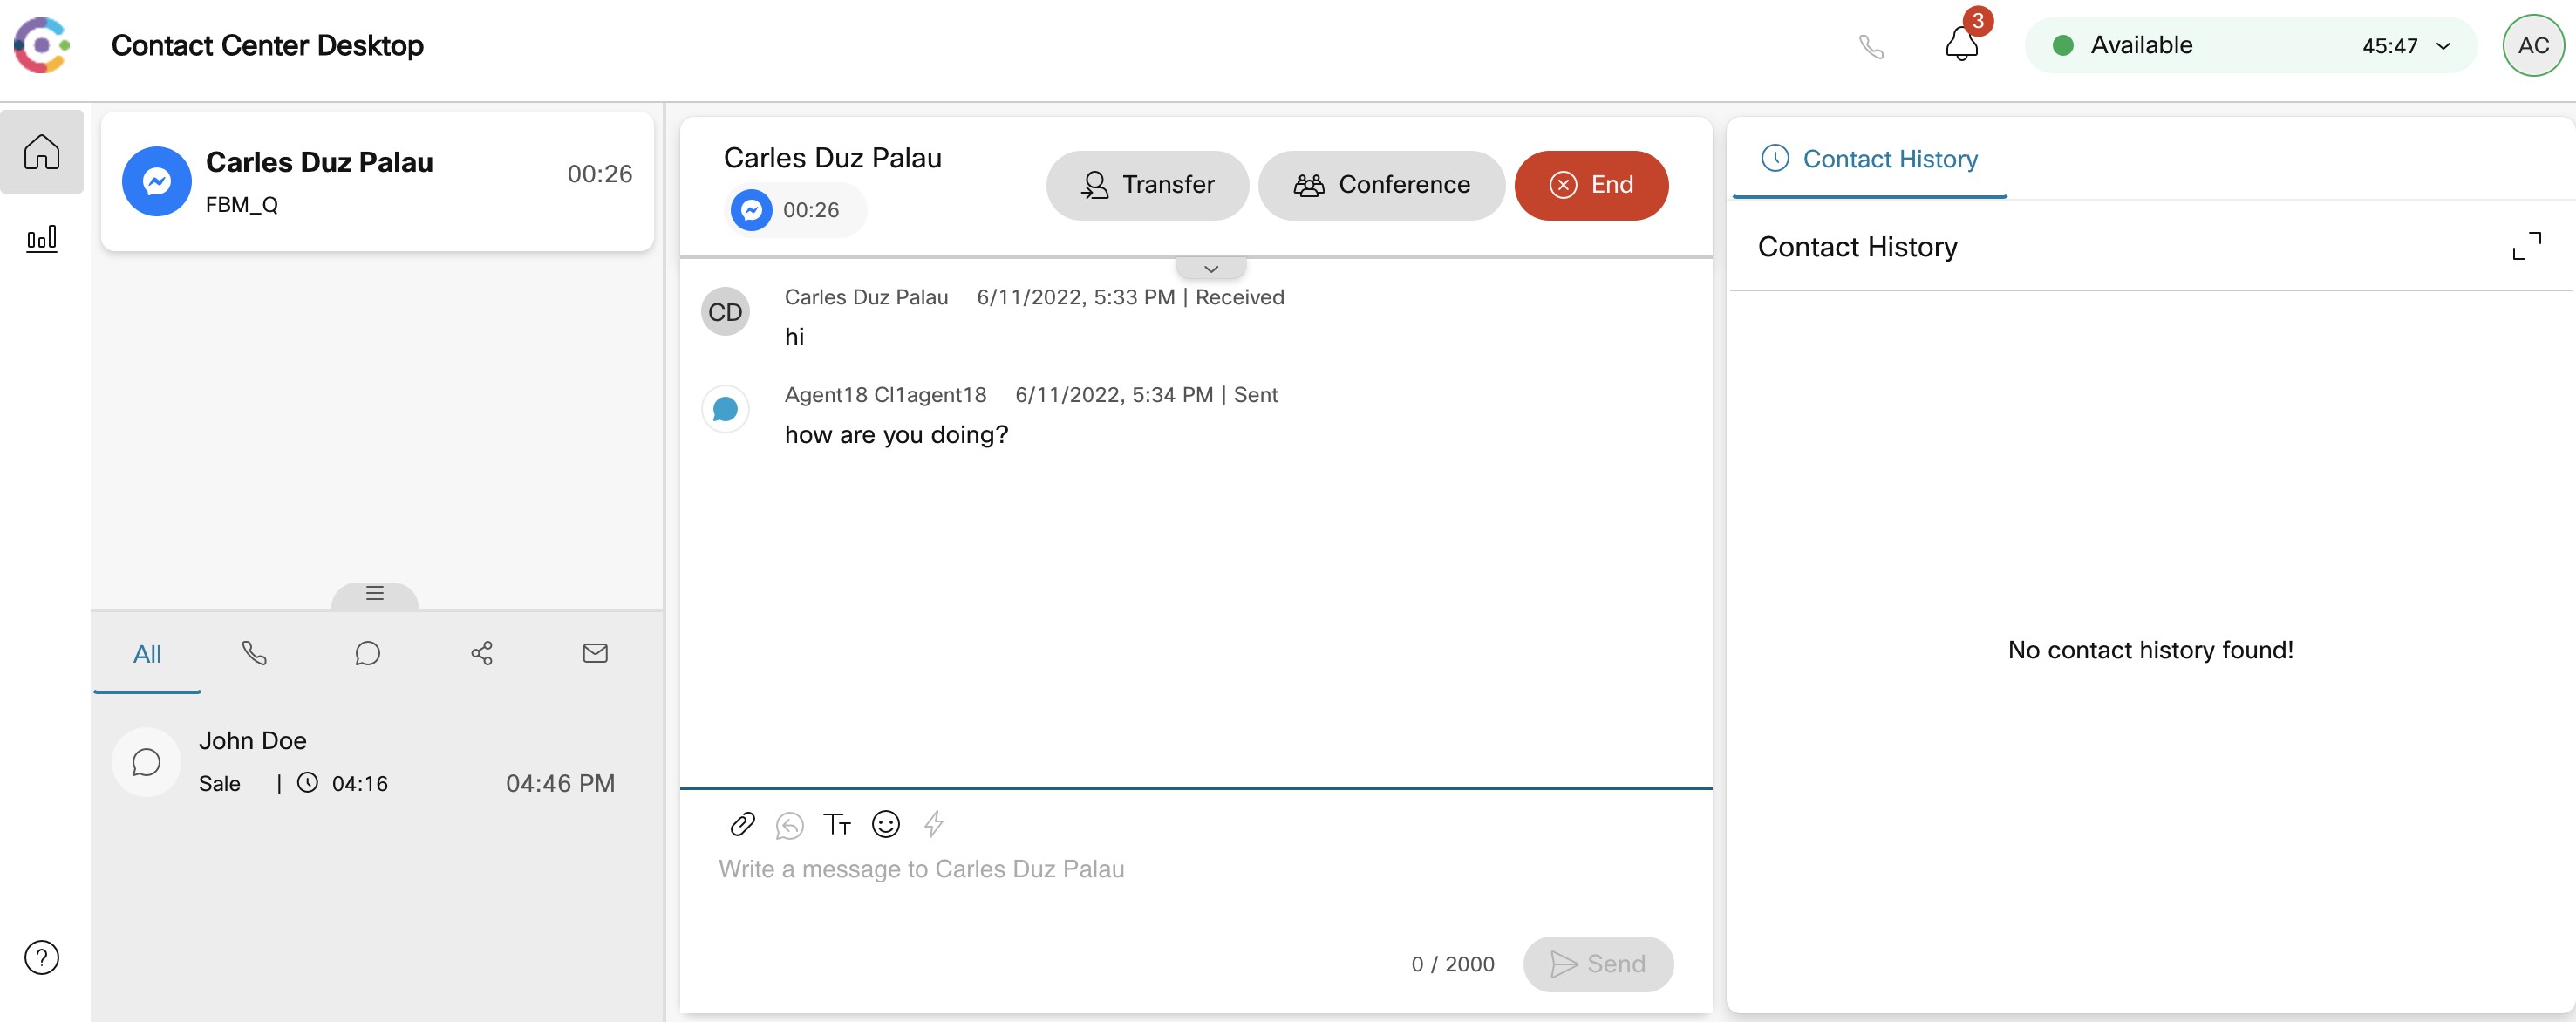
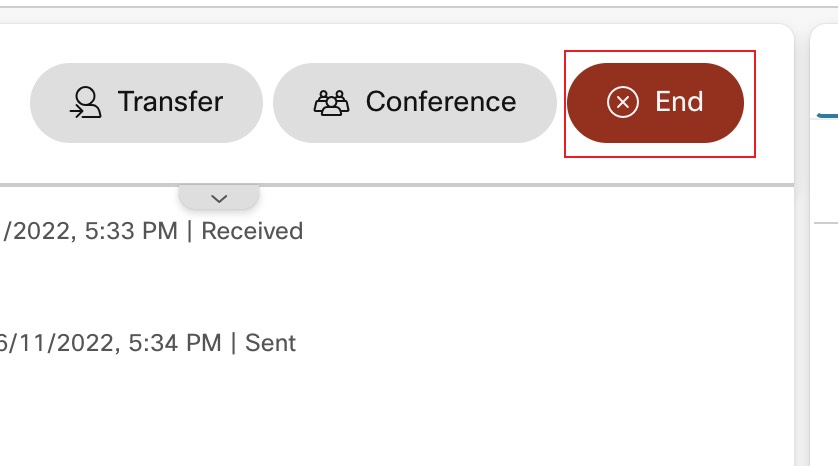
- Type a response and hit send button.
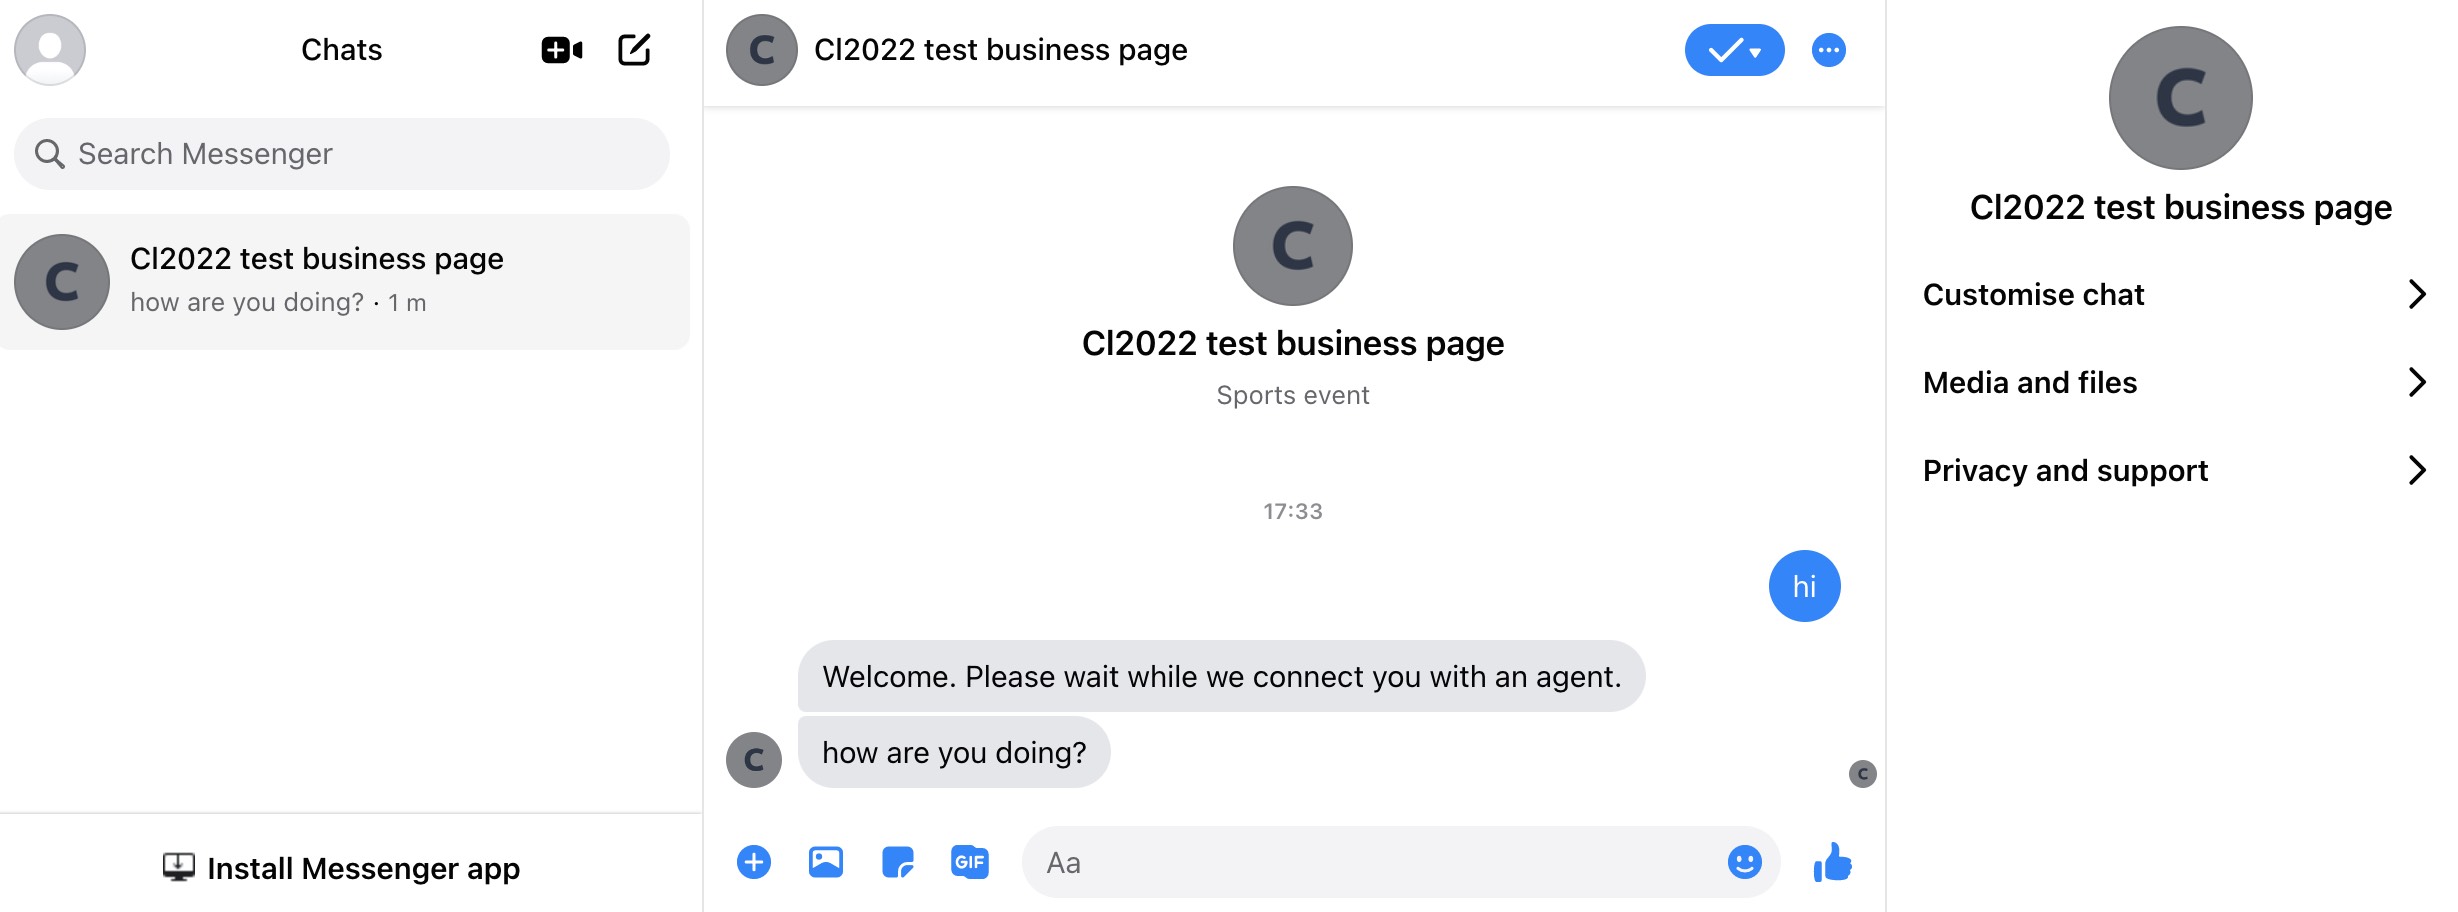
- Response will be received in the other tab where the FBM page is:
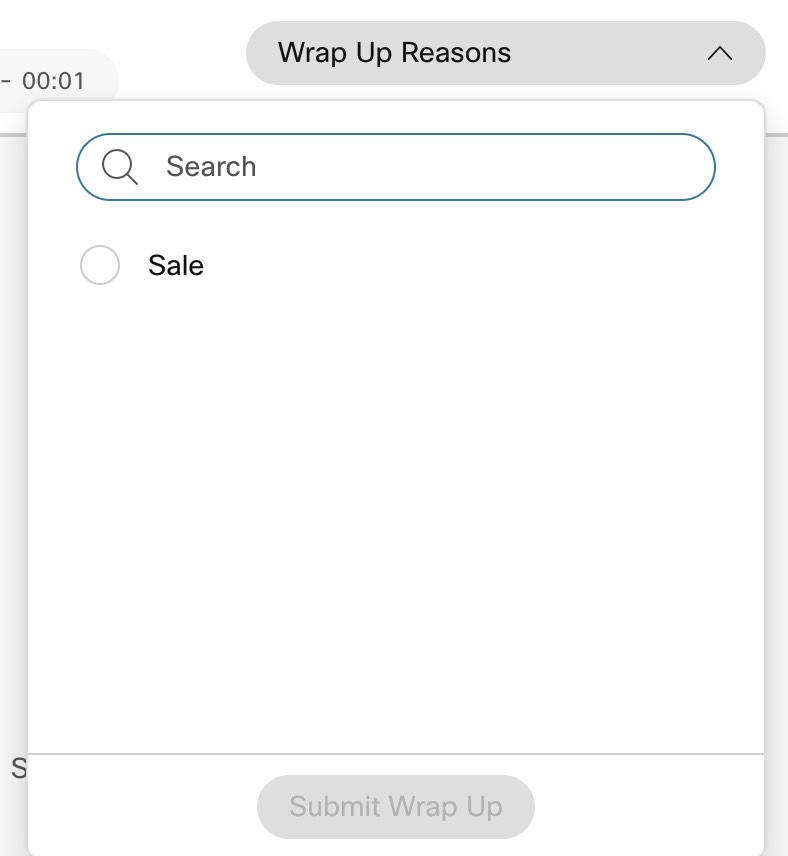
- End the contact
- Add wrap up and close the task.